

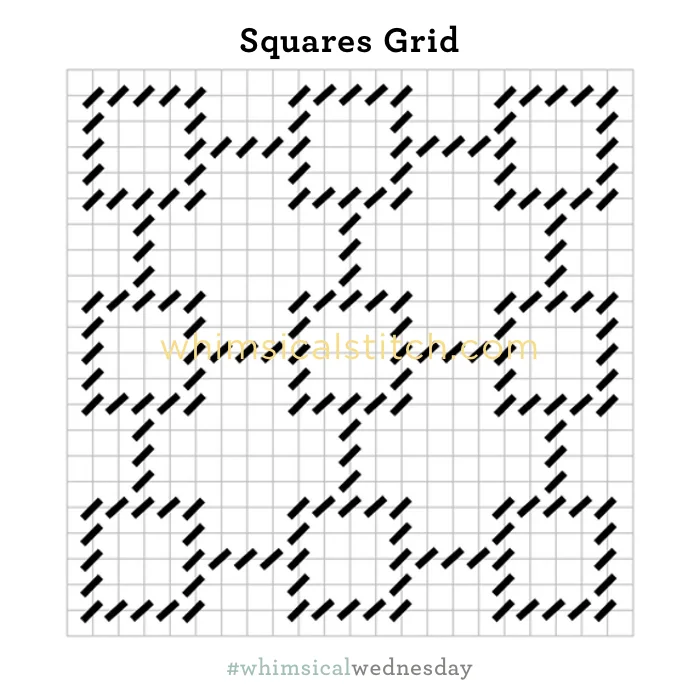
This morning's stitch is a series of connected squares. It's straightforward, scalable, and a tiny bit sassy. It's tempting to add something in any of the centers, but the simplicity is what I like about this stitch. In other words, leave it alone. :)
Click on image to see on whimsicalstitch.com's Pinterest account. Visit pinterest.com/whimsicalstitch/whimsicalwednesday for a library of all #whimsicalwednesday and #smallspacesunday stitch diagrams.
Click on image to see on whimsicalstitch.com's Instagram account. Visit instagram.com/whimsicalstitch to see a library of stitched samples for select #whimsicalwednesday and #smallspacesunday stitch diagrams.
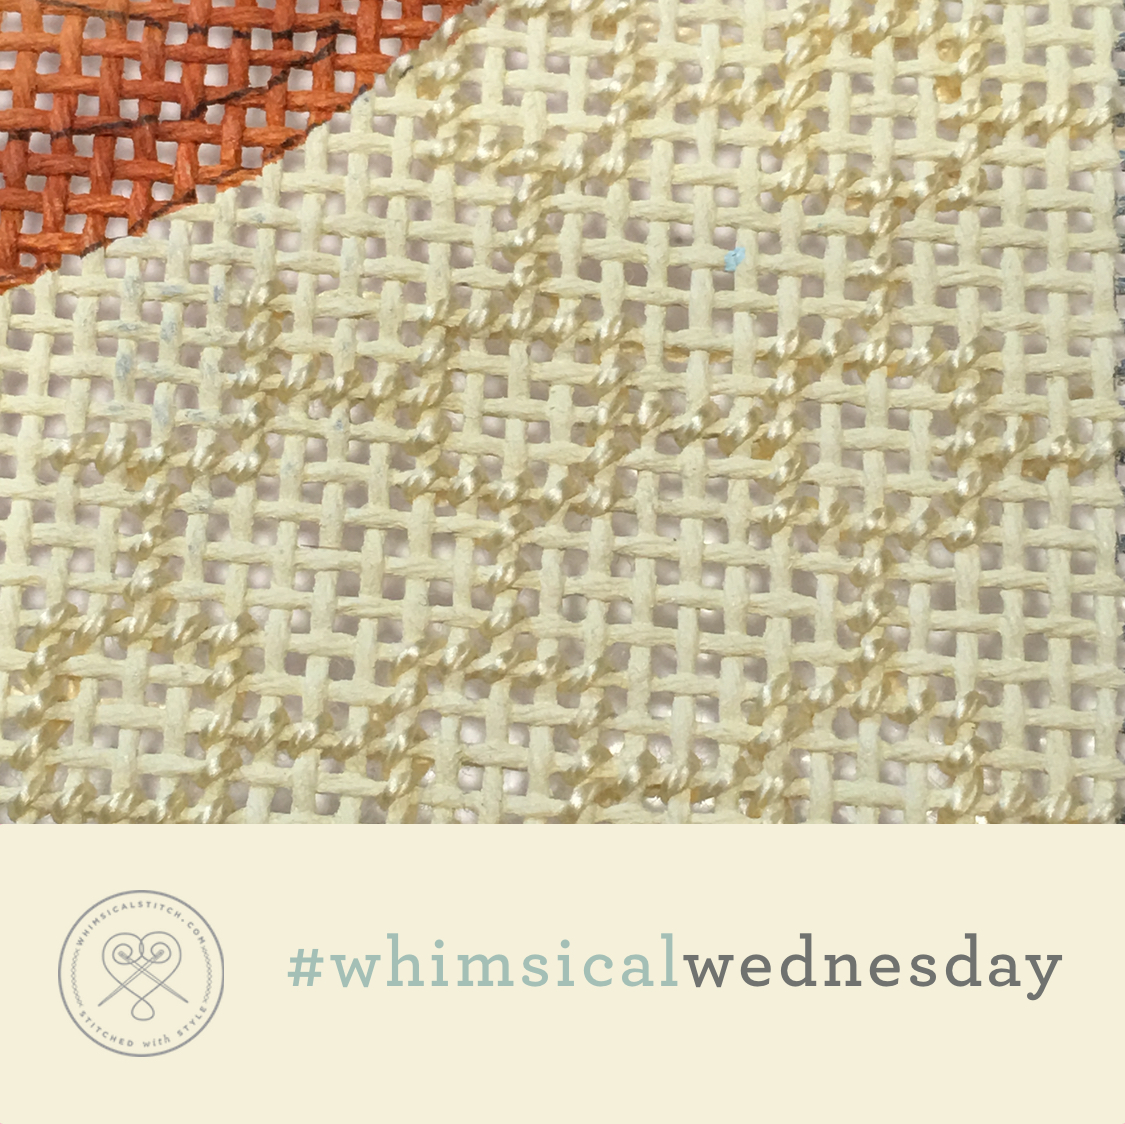
Just as the first pattern stitch this month, this stitch works best in an area that needs to recede such as a background. I would love to try this stitch on a large window with a lightweight Kreinik. The stitched sample on Instagram is a background on Melissa Shirley's Pumpkin Patch (a piece I'm dying to finish...someday).
This is a large open stitch and every effort should be made to minimize visible threads across the back of the canvas. To accomplish this, I have a couple suggestions. First, for people who use waste knots (me!), begin your thread on the axis that includes a connecting row (at least 10-12 rows away from your starting point). You can cover the waste knot as you stitch the connector while making sure the thread is snug and hidden behind that same row in the open area.
My second piece of advice is to start rows in corners as much as possible. For example, after I stitched a connector (on a subsequent square), I landed in the middle of a row on the new square. I added that center stitch (again, to minimize visible threads on the back) and moved immediately to a corner and stitched the remainder of that side of the square. Typically, when I completed a square, I was next to a connector row, meaning I could go down one row to add the connector row and then repeat.
This stitch diagram, along with all other #whimsicalwednesday and #smallspacesunday stitch diagrams, can also be found on a Pinterest board here.
Be sure to follow whimsicalstitch.com on Facebook, Pinterest, Instagram, and Twitter.
If you like what you see on this blog, want to learn some very creative decorative stitches, and how to put them all together, whimsicalstitch.com sells stitch guides and stitch concepts for Melissa Shirley Designs, Zecca Designs, and Patience Brewster. 41 guides are currently available and more are in the pipeline.
I hope you have the perfect spot for this stitch! Enjoy!