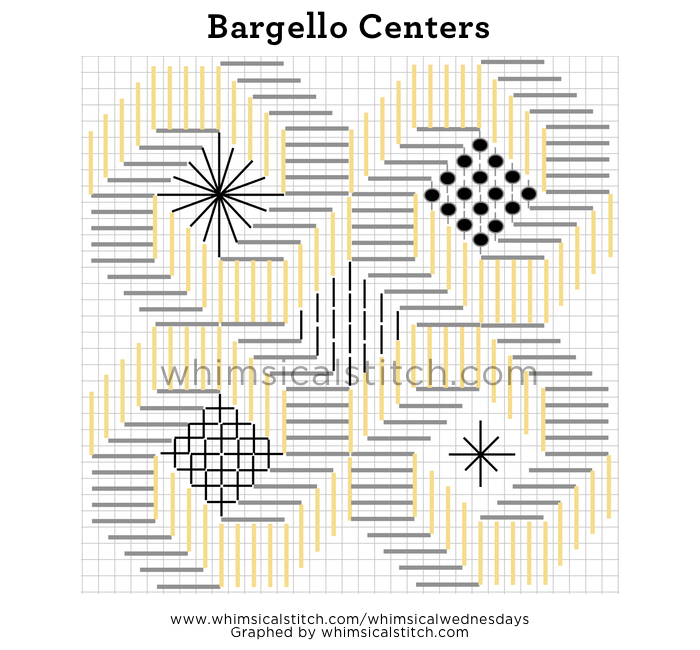
This stitch doesn't look small, but it is a perfect small stitch. I discovered it while auditioning stitches for a soon to be released Melissa Shirley piece. (The piece and the stitch guide will debut at the TNNA San Diego Show in early January, so stay tuned.)
Okay, self-promotion aside, this is a great stitch for small and large spaces. I'm not aware of a proper name for it. So, I'm calling it the Small Surprise Stitch.

The only real trick to this stitch is to do it one row at a time in a specific order. As an explanation, the single stitch accent covering the larger base stitch is added in the opposite direction, so it is much easier to add that accent while there is less thread surrounding it.
Specifically, starting in the upper left corner, do one row of the base stitch (the gray lines) traveling down the canvas on the diagonal, skipping a row in between. Follow up with the first accent thread (the green line). Add the next row of the base thread, going up the canvas on the diagonal, followed by the second contrasting thread (the yellow line). Repeat that sequence to fill the area. The stitched sample on Instagram helps you see how the compensation works.
The compensation looks intimidating, but it's quite easy once you realize the base thread is the only thread requiring compensation.
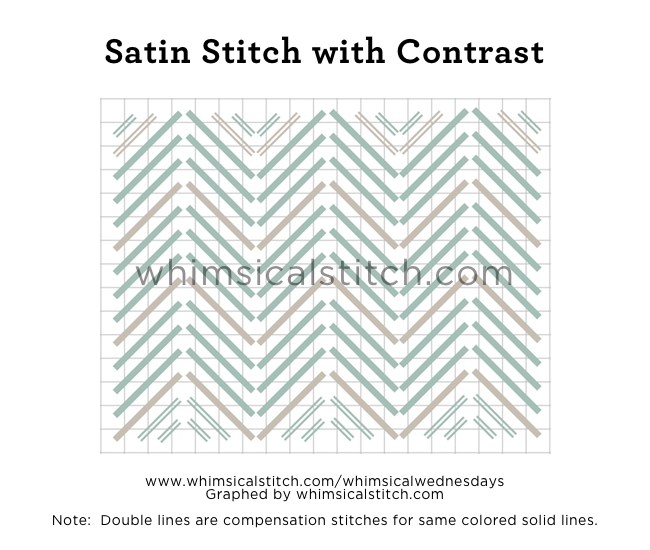
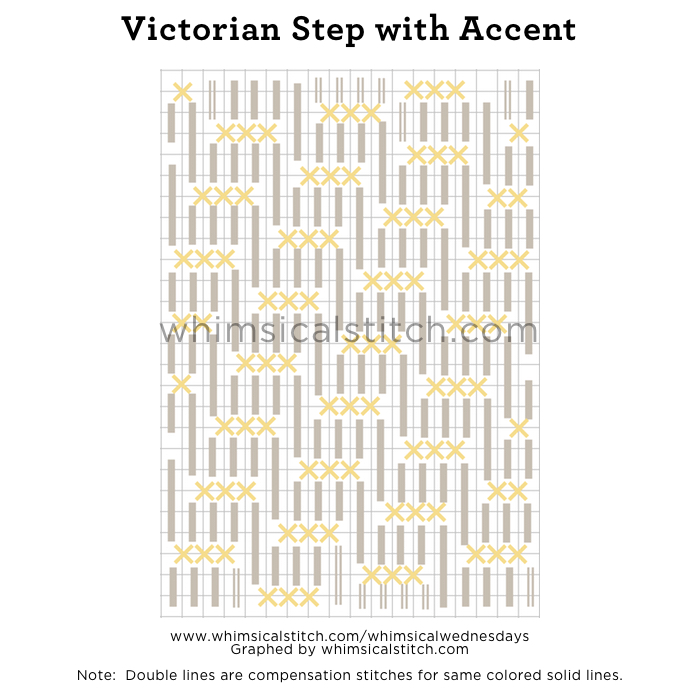
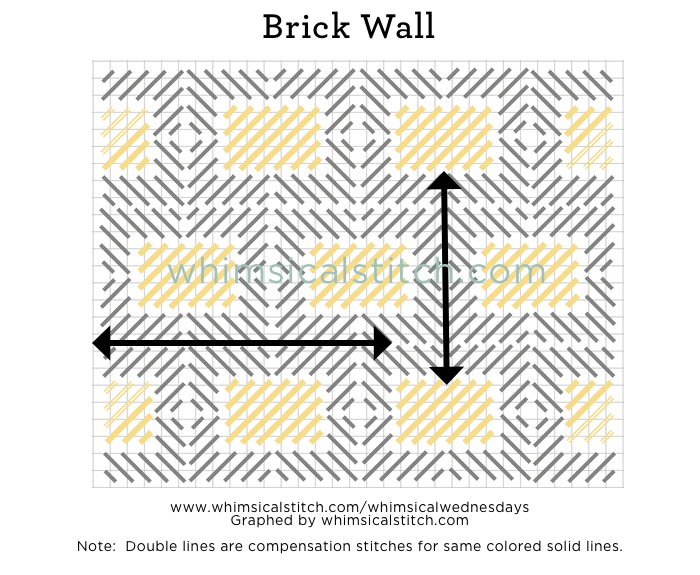
This stitch diagram, along with other #whimsicalwednesday and #smallspacesunday stitch diagrams, can also be found on www.pinterest.com/whimsicalstitch/whimsicalwednesday.
Be sure to follow whimsicalstitch.com on Facebook, Pinterest, Instagram, and Twitter.
If you like what you see on this blog, want to learn some very creative decorative stitches, and how to put them all together, whimsicalstitch.com sells stitch guides for seasonal Melissa Shirley designs. 18 guides are currently available and more are in the pipeline.
I hope you have the perfect space for this stitch and enjoy it!