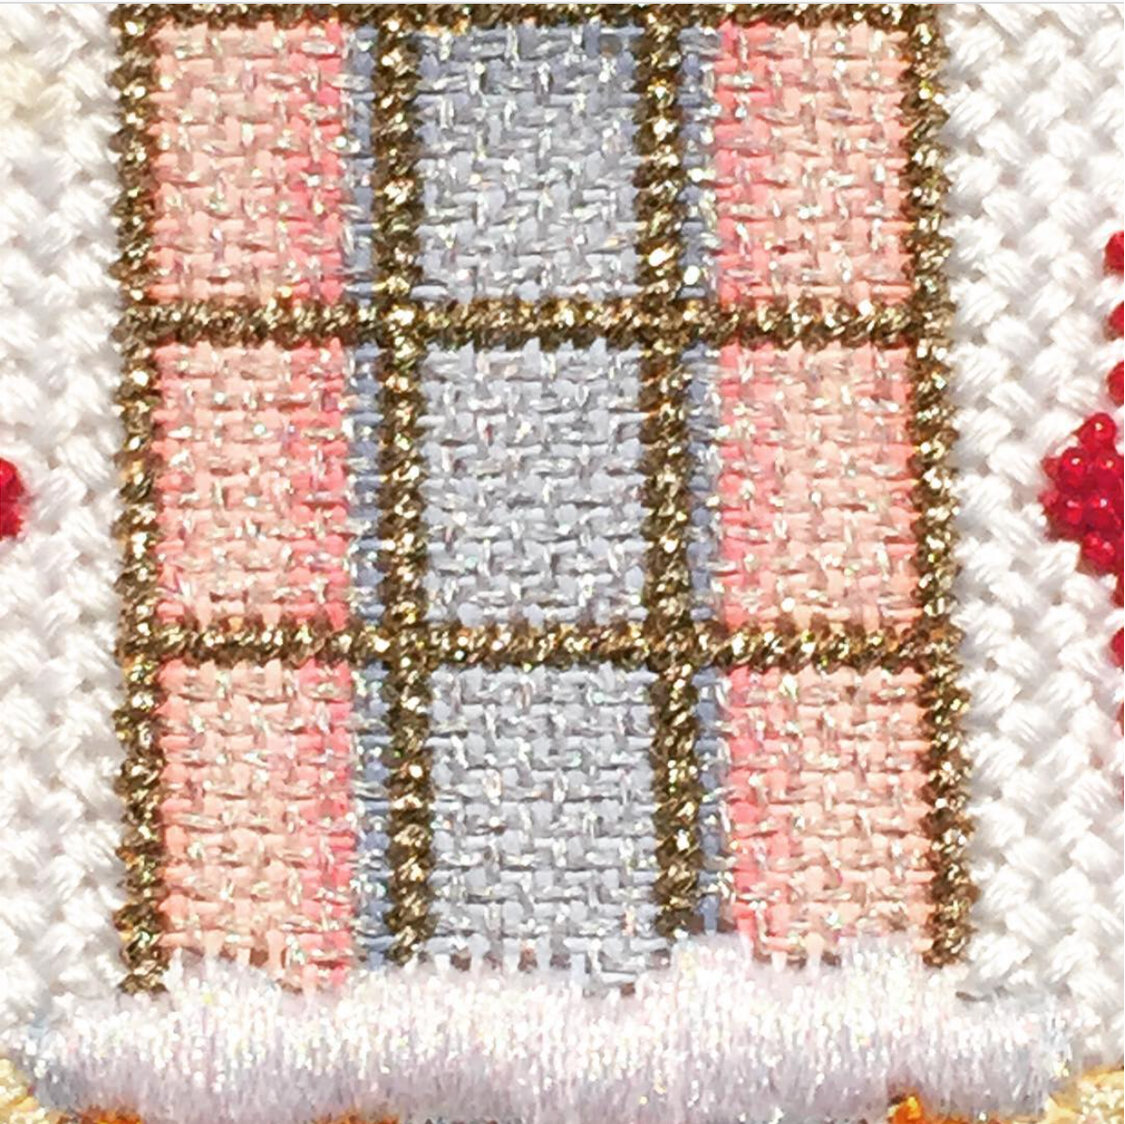
Beading. I love it yet I hate it.
There are certain canvases I gravitate towards and my first thought is, "Oh! That (whatever element on the canvas) will be so very perfect with beads. As painted. I don't care how big the space is. It will be perfect with beads. I must have beads."
And then I buy ten tubes of beads for the shading, of course, and curse at myself the entire way home.
Somehow, I know how to power through with beads. I have two tricks that help me do so. Not everyone agrees with my tricks. But, I've been doing it this way for close to 20 years and it works.
The first is transparent thread. Transparent thread eliminates the need for multiple needles (with different color threads) or the time-consuming chore of changing threads on the needle. I can shade to my heart's delight.
I used to find transparent thread at the local drug store in the now rapidly disappearing sewing section. I've seen transparent thread at local needlepoint shops, but find it is very expensive. I now buy it at my local fabric store.
The second trick is to align the individual rows of beads by returning the needle through the entire row after it is complete.

This is a tried and true method for me to bead.
Don't get me wrong. There are occasions when I buy colored beading thread. I use it to reinforce a color in an area, especially if it is a small space or brick beading. More often than not, if I am adding a single bead to an already open space area, I will use colored beading thread.
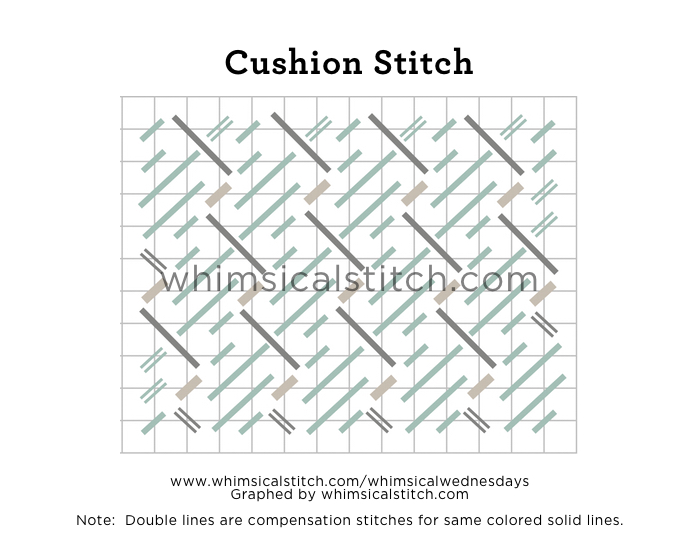
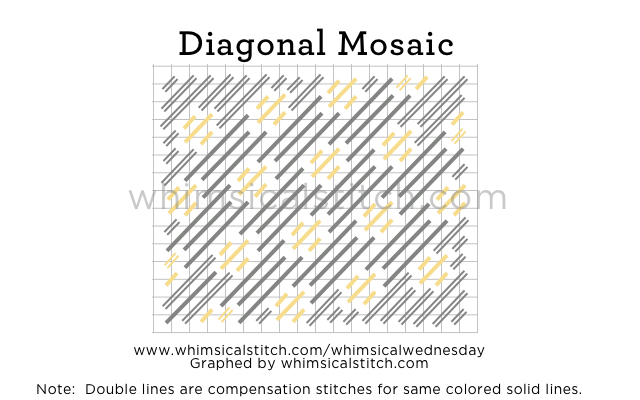
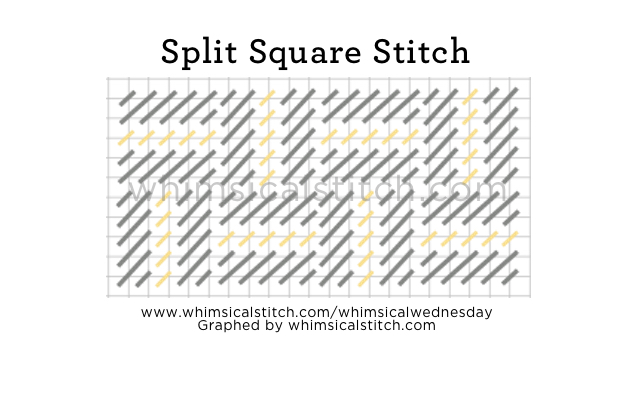
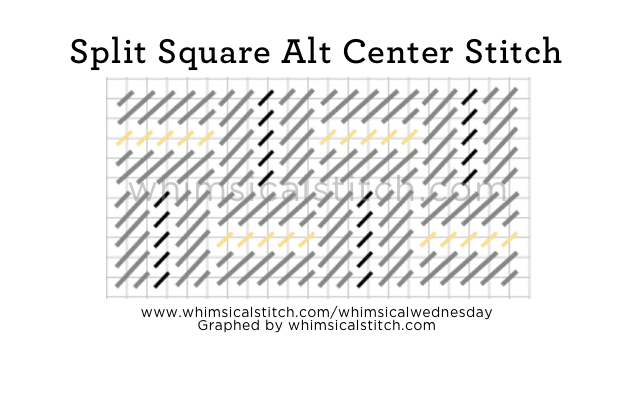
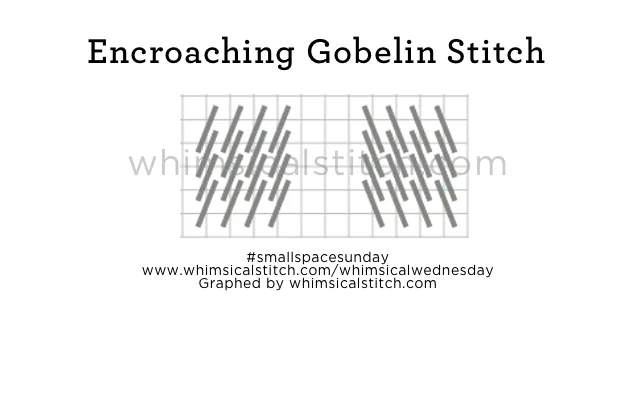
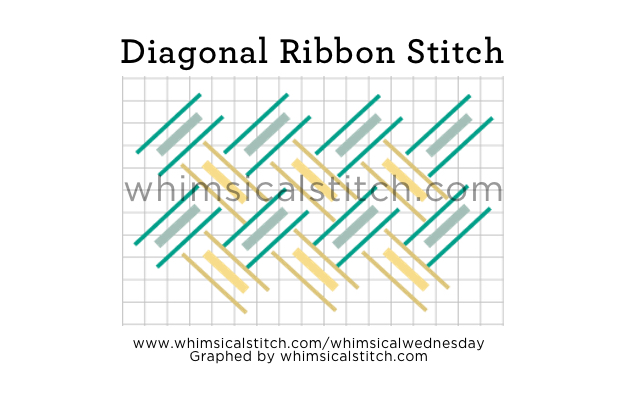
This stitch diagram, along with other #whimsicalwednesday and #smallspacesunday stitch diagrams, can also be found on www.pinterest.com/whimsicalstitch/whimsicalwednesday.
Be sure to follow whimsicalstitch.com on Facebook, Pinterest, Instagram, and Twitter.
If you like what you see on this blog, want to learn some very creative decorative stitches, and how to put them all together, whimsicalstitch.com sells stitch guides for seasonal Melissa Shirley designs. Eight guides are currently available and more are in the pipeline.
I hope this post helps you reconnect with beading. Thank you for stopping by!