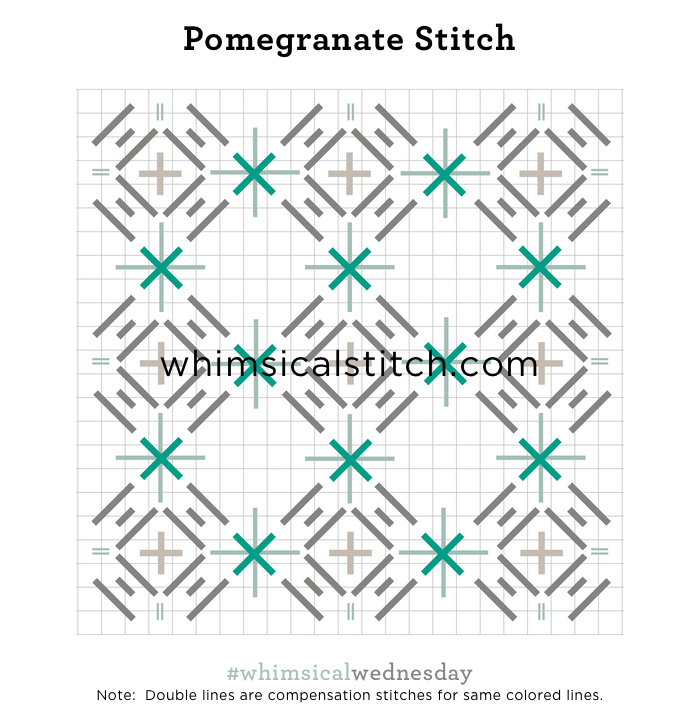
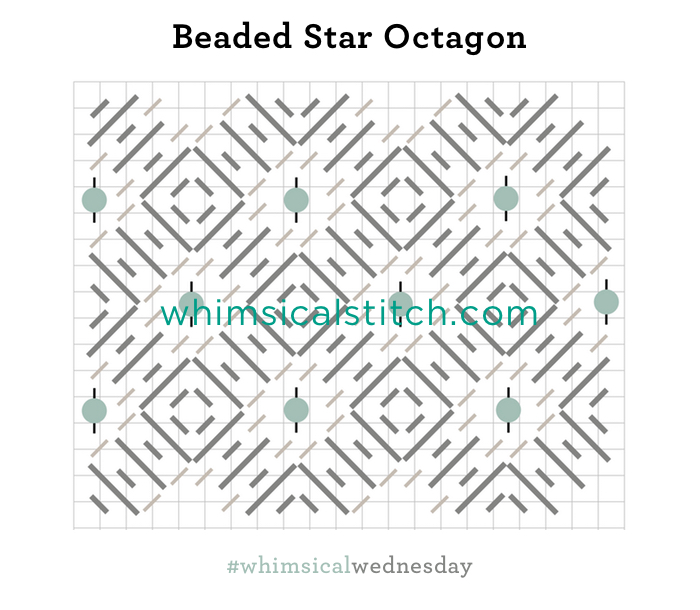
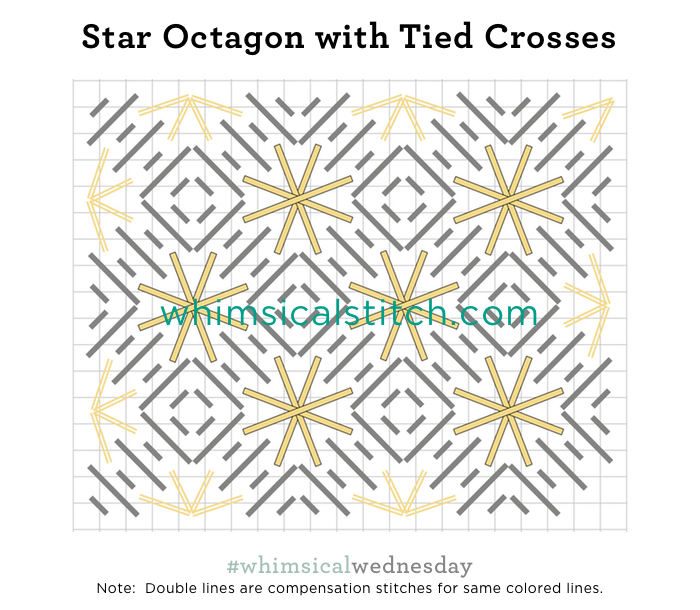
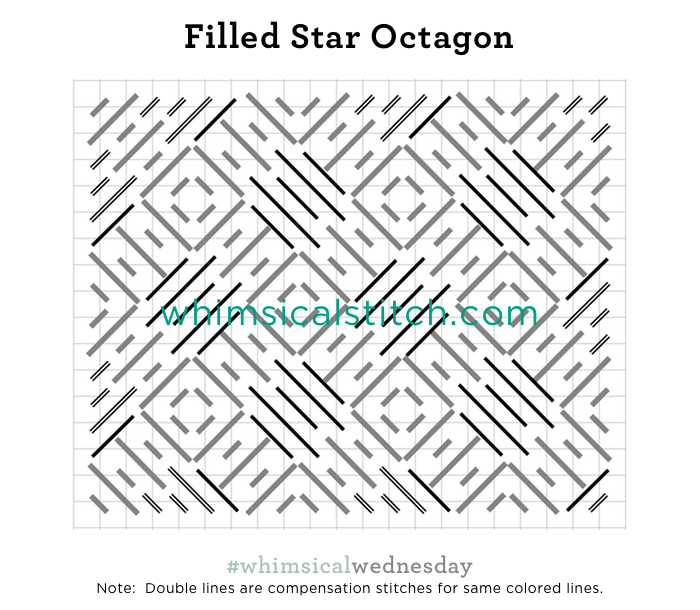
Today's stitch is a denser variation of the Elongated X's I shared with you last September.
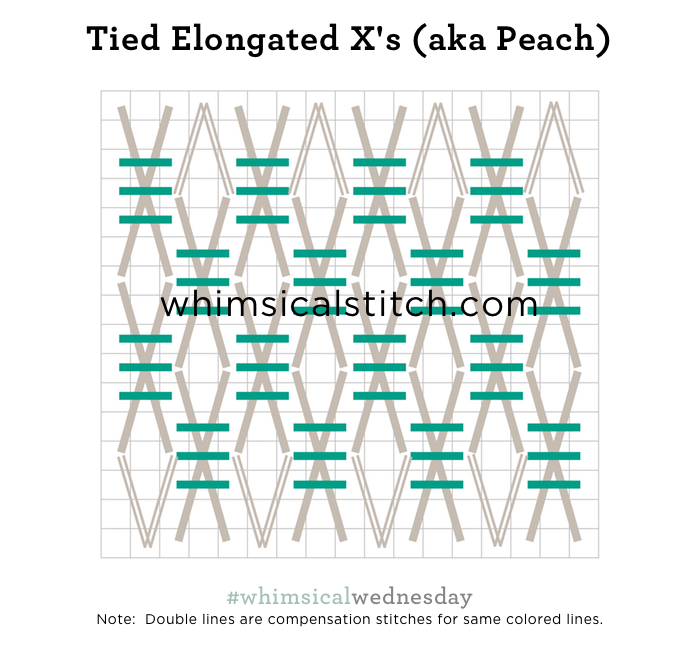

Just as the original post, this stitch is up six rows and over two. Tying down the X's with three horizontal stitches over two rows is a way to brighten it up for the peach that inspired this post.
As you can see, thread weights play a huge role in the openness of this denser stitch. I used size 8 DMC Pearl Cotton and size 8 Kreinik Metallics, resulting in an almost full coverage stitch looking barely there. And, for certain artists, this is the way to stitch. There is some beautiful shading out there. There are times I feel guilty covering it up.
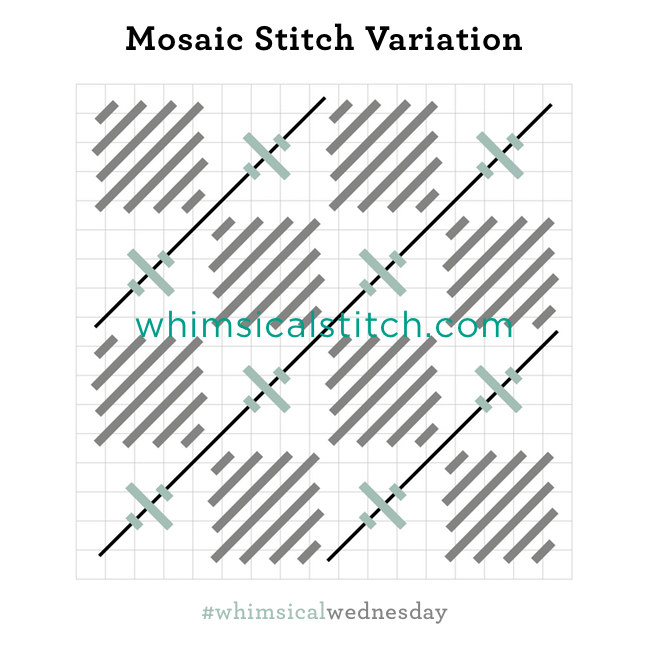
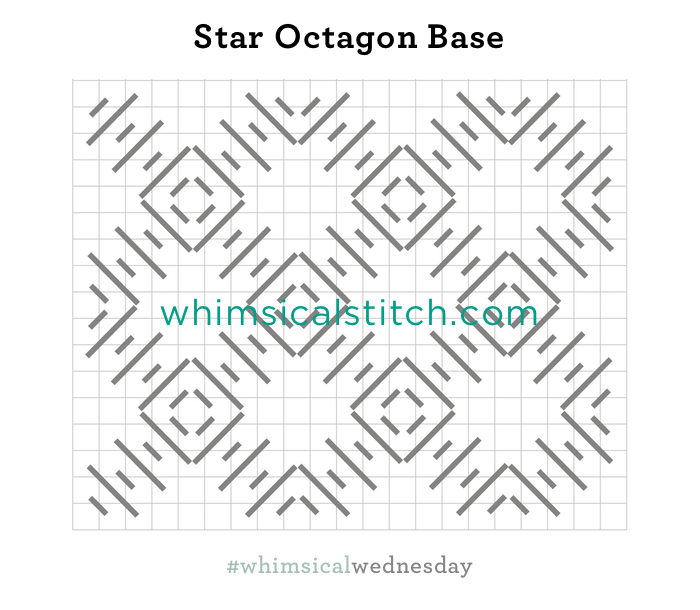
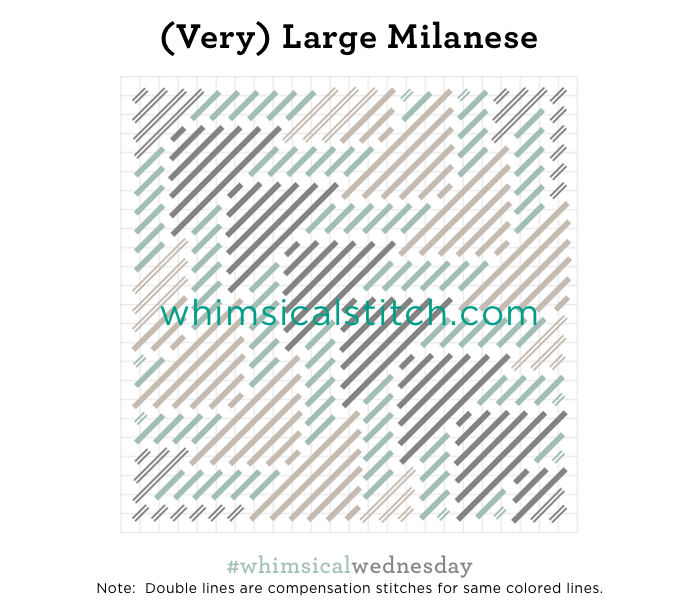
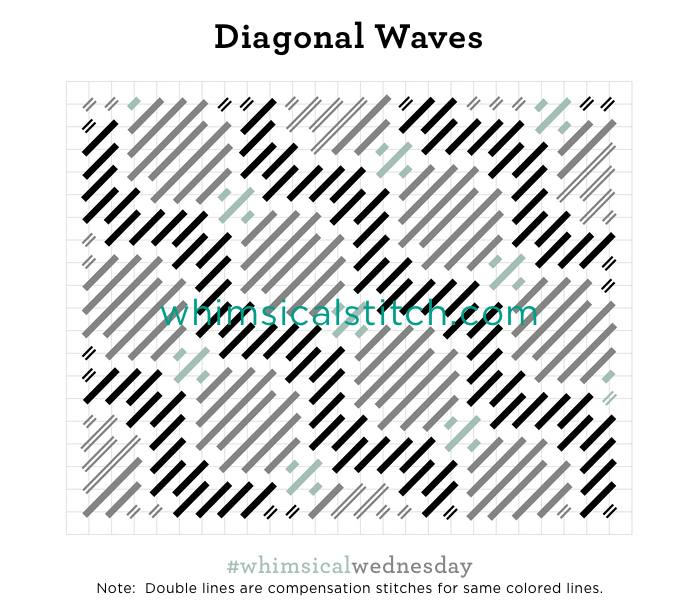
This stitch diagram, along with all other #whimsicalwednesday and #smallspacesunday stitch diagrams, can also be found on a Pinterest board here.
Be sure to follow whimsicalstitch.com on Facebook, Pinterest, Instagram, and Twitter.
If you like what you see on this blog, want to learn some very creative decorative stitches, and how to put them all together, whimsicalstitch.com sells stitch guides for Melissa Shirley Designs, Zecca Designs, and Patience Brewster. 31 guides are currently available and more are in the pipeline.
I hope you enjoy this stitch and have the perfect spot for it! Enjoy!