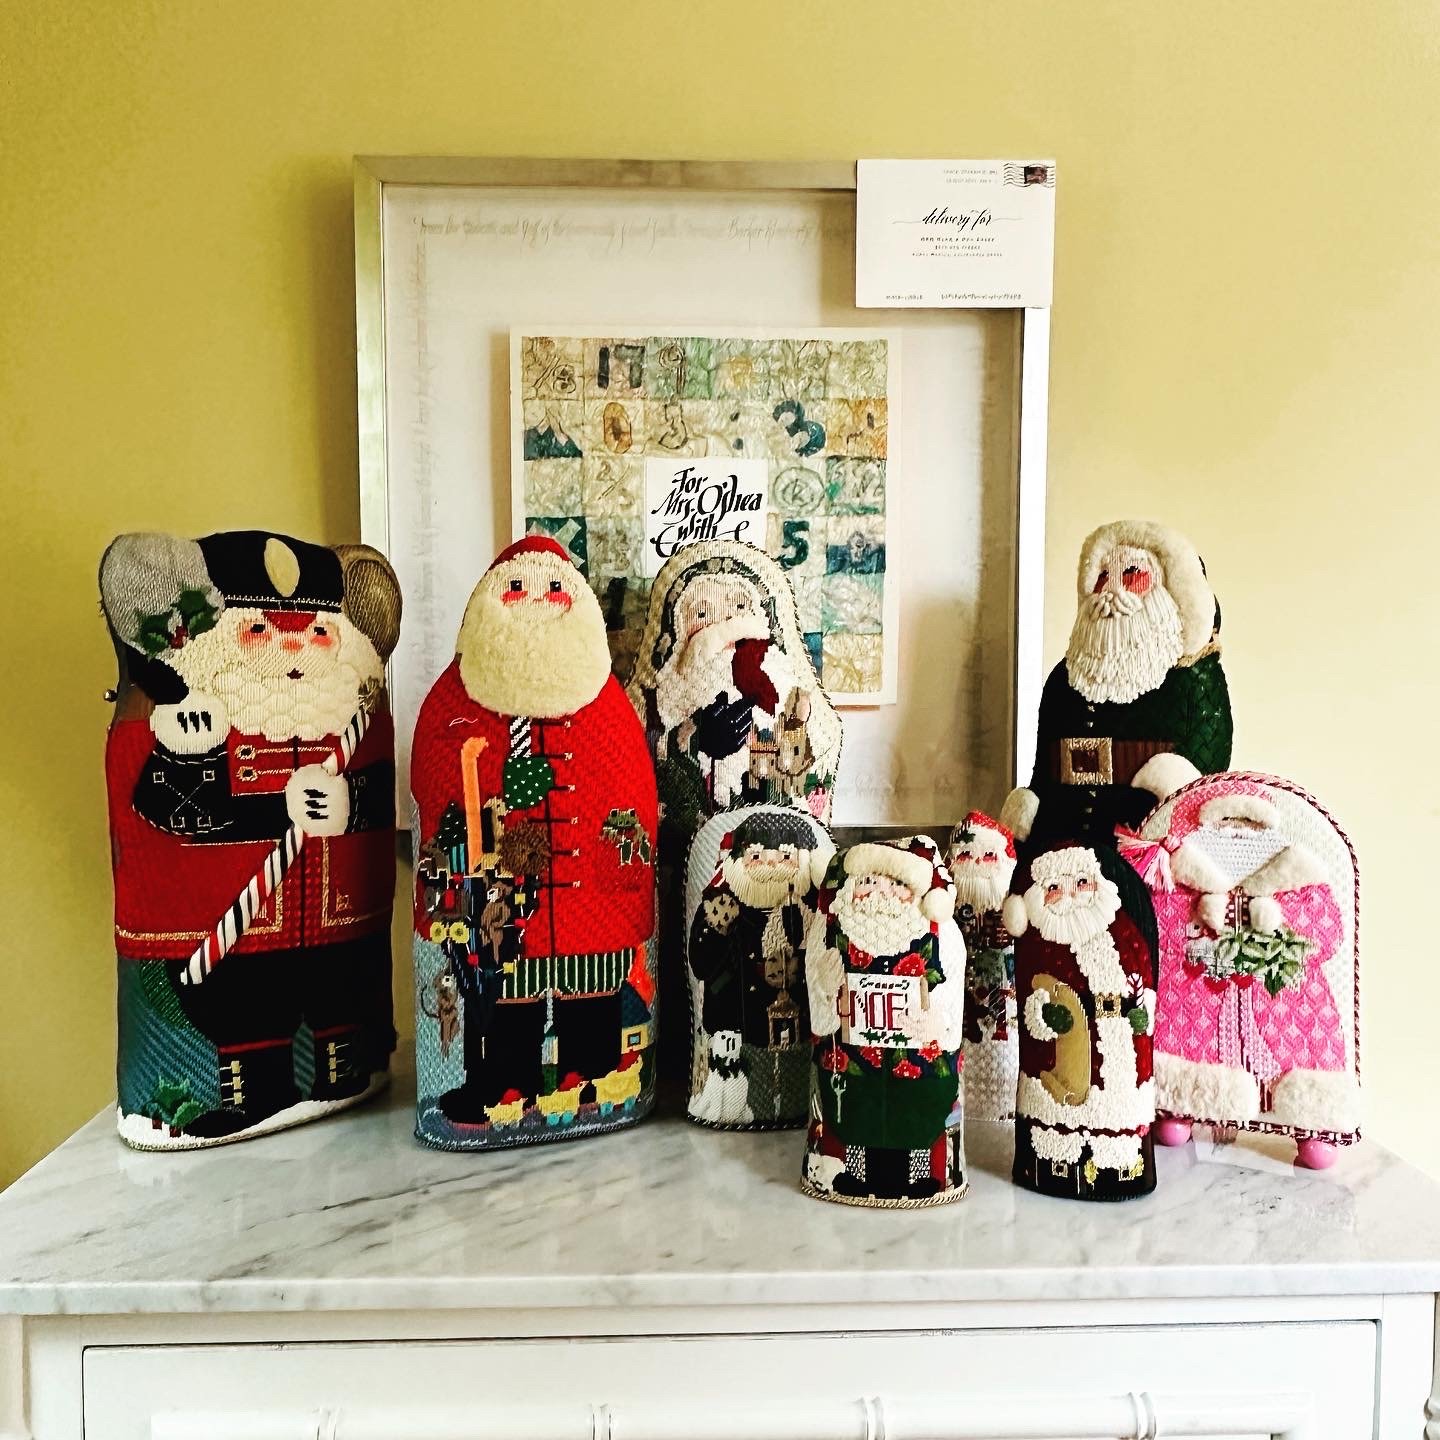
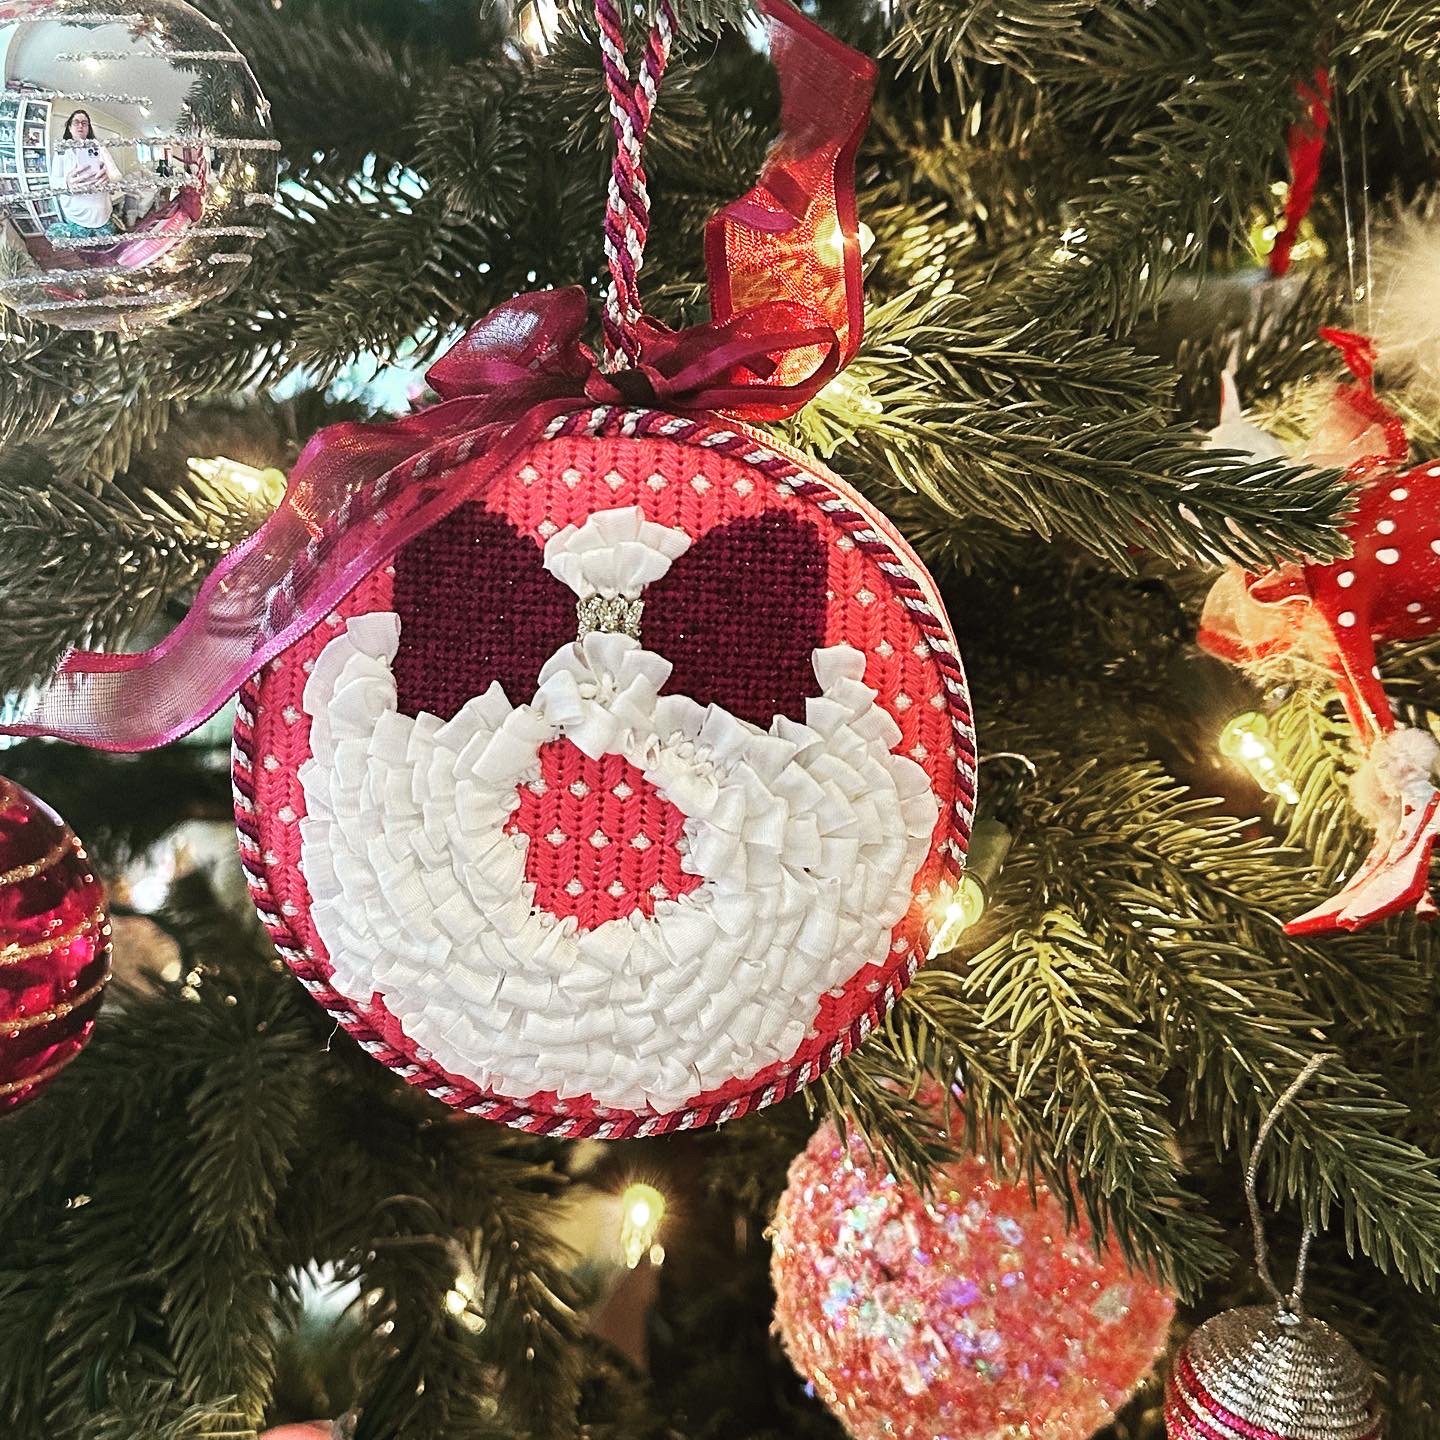
Well, well, well. My cherished two-sided Santa offered up a gift of a small stitch for us today…the first #smallspacesunday in far too long.
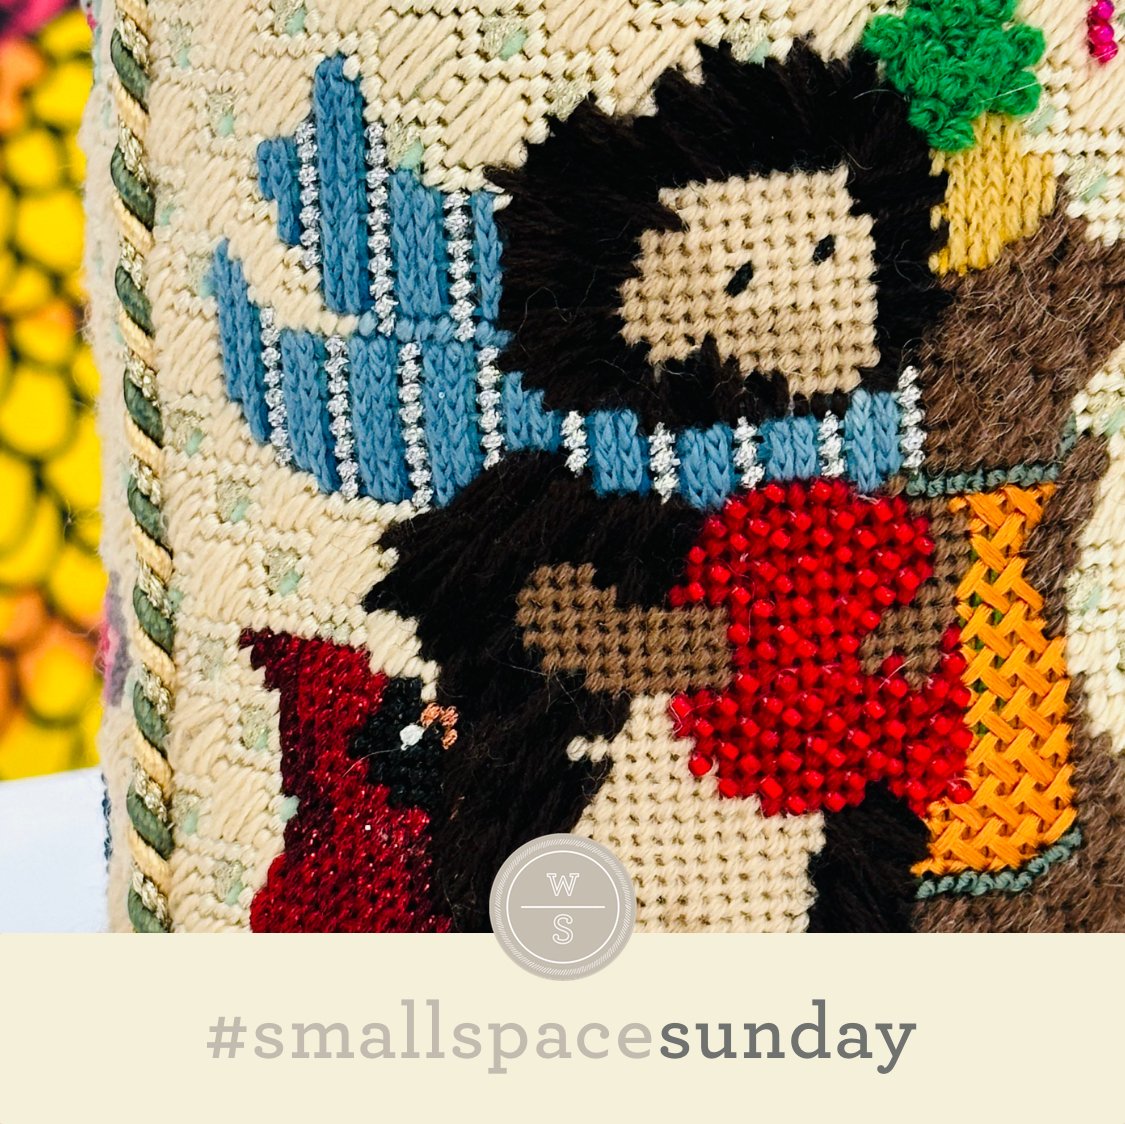
The stitched sample is the cutest scarf on the cutest woodland creature. My best guess is I used 5-6 strands of Designer’s Dream (a wonderful wool from back in the day) or Burmilana for the aqua lines and a size 16 Kreinik for the black lines on 13M.
The stitch sequence is straightforward. Starting two rows below the top edge, add a row (two rows wide) of vertical stitches two rows tall. Move ONE row below the first stitches and repeat, gently inserting the needle into the center of the thread immediately above, creating a tiny knit stitch. Since the knit stitches are created in the ditch between two canvas threads, skip two more ditches and repeat the straight stitches. Add a row of tent stitches over the vertical canvas thread in the center of the skipped rows. The stitched sample demonstrates how the stitch is more full coverage than the diagram implies.
One of the most common questions I field in teaching is how to navigate adjacent straight and diagonal stitches. It’s tricky! Straight stitches and diagonal stitches cover canvas threads differently. Diagonal stitches cover vertical and horizontal canvas threads. Vertical straight stitches cover horizontal canvas threads, and horizontal straight stitches cover vertical canvas threads, which can leave the opposite canvas thread mildly to significantly visible. If that visible thread irritates you, heavier thread choices help mitigate this (see below).
I think it is important to keep the appearance of both stitches (diagonal and straight) unobscured. Instinct may tell a stitcher to start the column of tent stitches on the visible canvas thread immediately adjacent to either side of the knit stitch. If you choose to do this, you end up obscuring the knit stitch AND the column of tent stitches. To keep the stitches unobscured, take a moment to see how they meet (parallel or perpendicular).
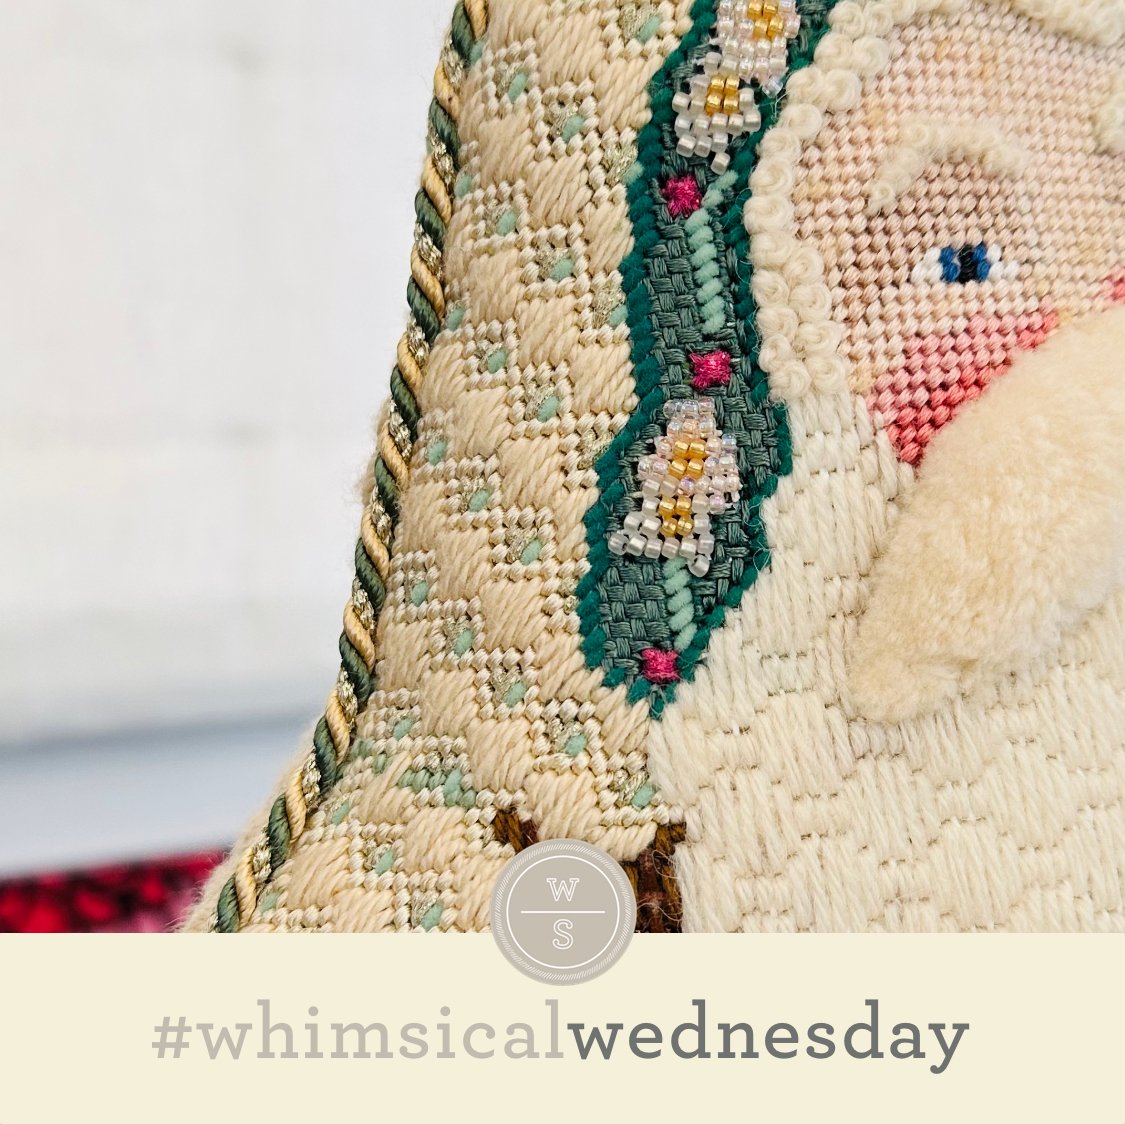
The stitches in today’s blog are parallel to each other. The straight stitches occupy single columns of holes, and each diagonal stitch occupies two holes (the beginning and the end of the stitch). All holes are occupied, and each stitch is unobscured. When straight and diagonal stitches are perpendicular to each other, they can share a hole where they meet because no stitch is obscured. To visualize that, take a look at the top edge of the scarf and how it meets the diagonal stitches from Santa’s coat.
The threads you choose for a knit stitch need to be a little “extra.” For more full coverage, audition heavier threads and/or up your typical ply count. I like flosses or lightweight strands for knit stitches because it is easier to split stitches with a needle. For fuller coverage, I would use 6-8 strands of Bella Lusso or Burmilana and 7-8 plies of cotton or silk floss. For fuller coverage on 18M, I would use 4-6 strands of Bella Lusso or Burmilana and 5-6 plies of cotton or silk floss. If you want to use metallics for the accent, select one that will confidently cover the canvas thread, such as size 16 Kreinik, Silk Lame 18 or 13, or Frosty Rays for 13M and size 12 Kreinik, Silk Lame 18, or Petite Frosty Rays for 18M.
Disclaimer: This is my perspective on navigating straight and diagonal stitches. Others may have a different point of view. We can politely agree to disagree. If this made your head explode, I apologize. It took me a long time to verbalize how I approached this apparent conundrum. My aha moment was when I realized that single diagonal stitches (tent stitches) occupy two holes. I share that in the hopes it helps my explanation make sense.
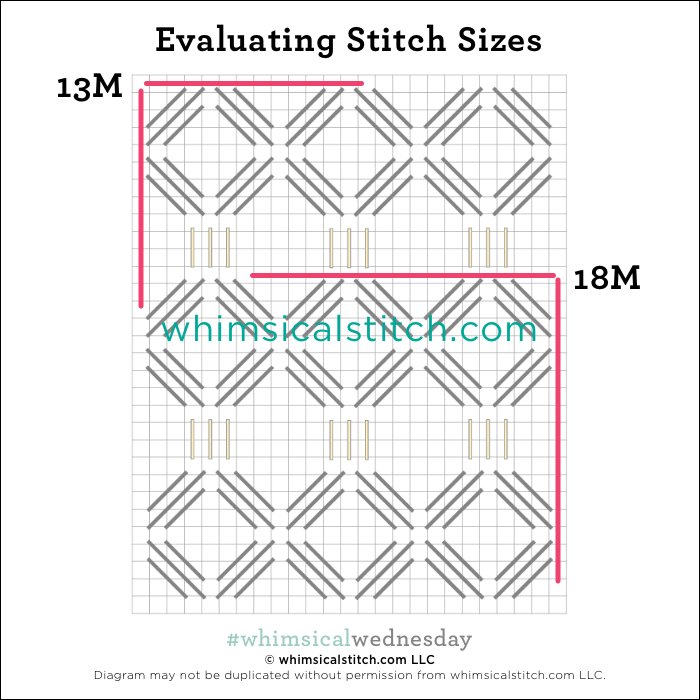
Just a reminder about how to evaluate stitches for size on your project.
As you are auditioning stitches (from any stitch source), count the number of canvas threads on the diagram that match your mesh size. And there you have what an inch of the stitch will look like. Evaluate that against the area where you plan to use the stitch and make your final decision. If you start integrating this step into your stitch selection process, you may be surprised at how many stitches you think are large are much smaller than you realize. (Or, in today’s case, the stitch is much larger than it looks.)
By (sometimes) including this step in my own process, I find I am now integrating much longer stitches than I ever thought I would. I used to think a stitch six rows long was super big. I have very much changed my tune, which has helped me expand my creativity, especially for large-space stitches.
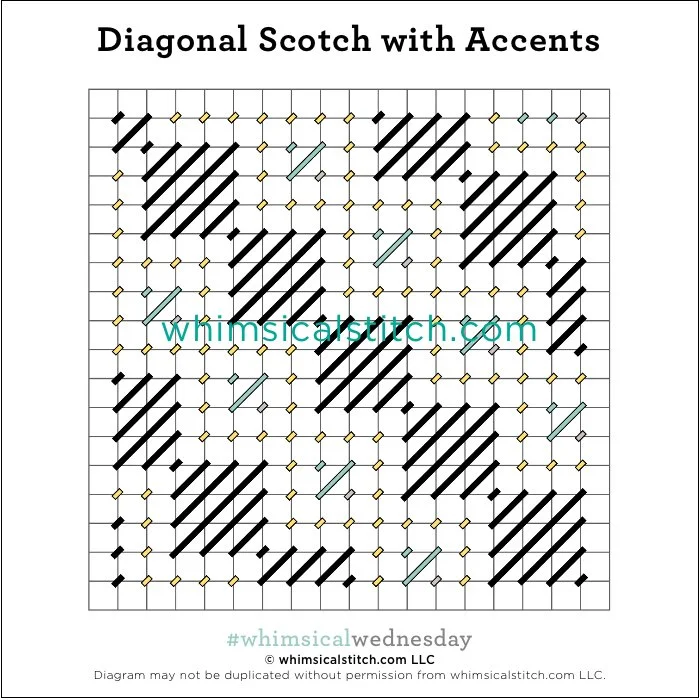
Today’s stitch diagram, along with all other #whimsicalwednesday and #smallspacesunday stitch diagrams, can also be found on a Pinterest board here. Be sure to follow whimsicalstitch.com on Facebook, Pinterest, Instagram, and Twitter.
If you like what you see on this blog, there's more. Mary’s Whimsical Stitches is a series of three books offering contemporary how-to collections of more than 250 stitches (in each volume) for all stitchers, regardless of skill level. All books include updated and sequenced diagrams from this blog plus a collection of all-new stitches from private lessons and other class projects. Visit here to find a needlepoint retailer that carries my books.
New to needlepoint or looking for a refresher? Please download a handy how-to guide covering basic needlepoint stitches and stitch compensation techniques along with new top-line information on needlepoint materials and tools, how to handle threads, and other helpful needlepoint resources.
whimsicalstitch.com also sells Stitch Guides and Stitch Concepts for Melissa Shirley Designs, Zecca Designs, Sandra Gilmore, Purple Palm, Maggie, and Penny MacLeod, and many more. Click here to see the newest guides and click here to see the entire collection.
I hope you have the perfect spot for this stitch! Please enjoy! Have a wonderful #whimsicalwednesday!
A Note about Diagrams
I use color in diagrams to make them as clear as possible. The primary function of different colored lines is to illustrate a stitch sequence. For example, the layering of colors demonstrates you add them in that order. They can also provide ideas on integrating additional threads (one line for each color). Or, you can use the same thread for all color lines. That's where I encourage you to use your imagination for the space you are stitching!


