
Welcome to Whimsical Tutorials, the companion page to my tutorial videos on Instagram and TikTok. Content is listed by descending date, followed by tutorial subject.
September 6, 2026
Compensation Stitches
Compensating stitches makes them fit in the remaining space. Sounds simple, right? It’s not as hard as many think. I offer insight on how to compensate simple straight and simple diagonal stitches. Add a little magic with Hank and you can’t go wrong.
September 6 Featured Diagrams
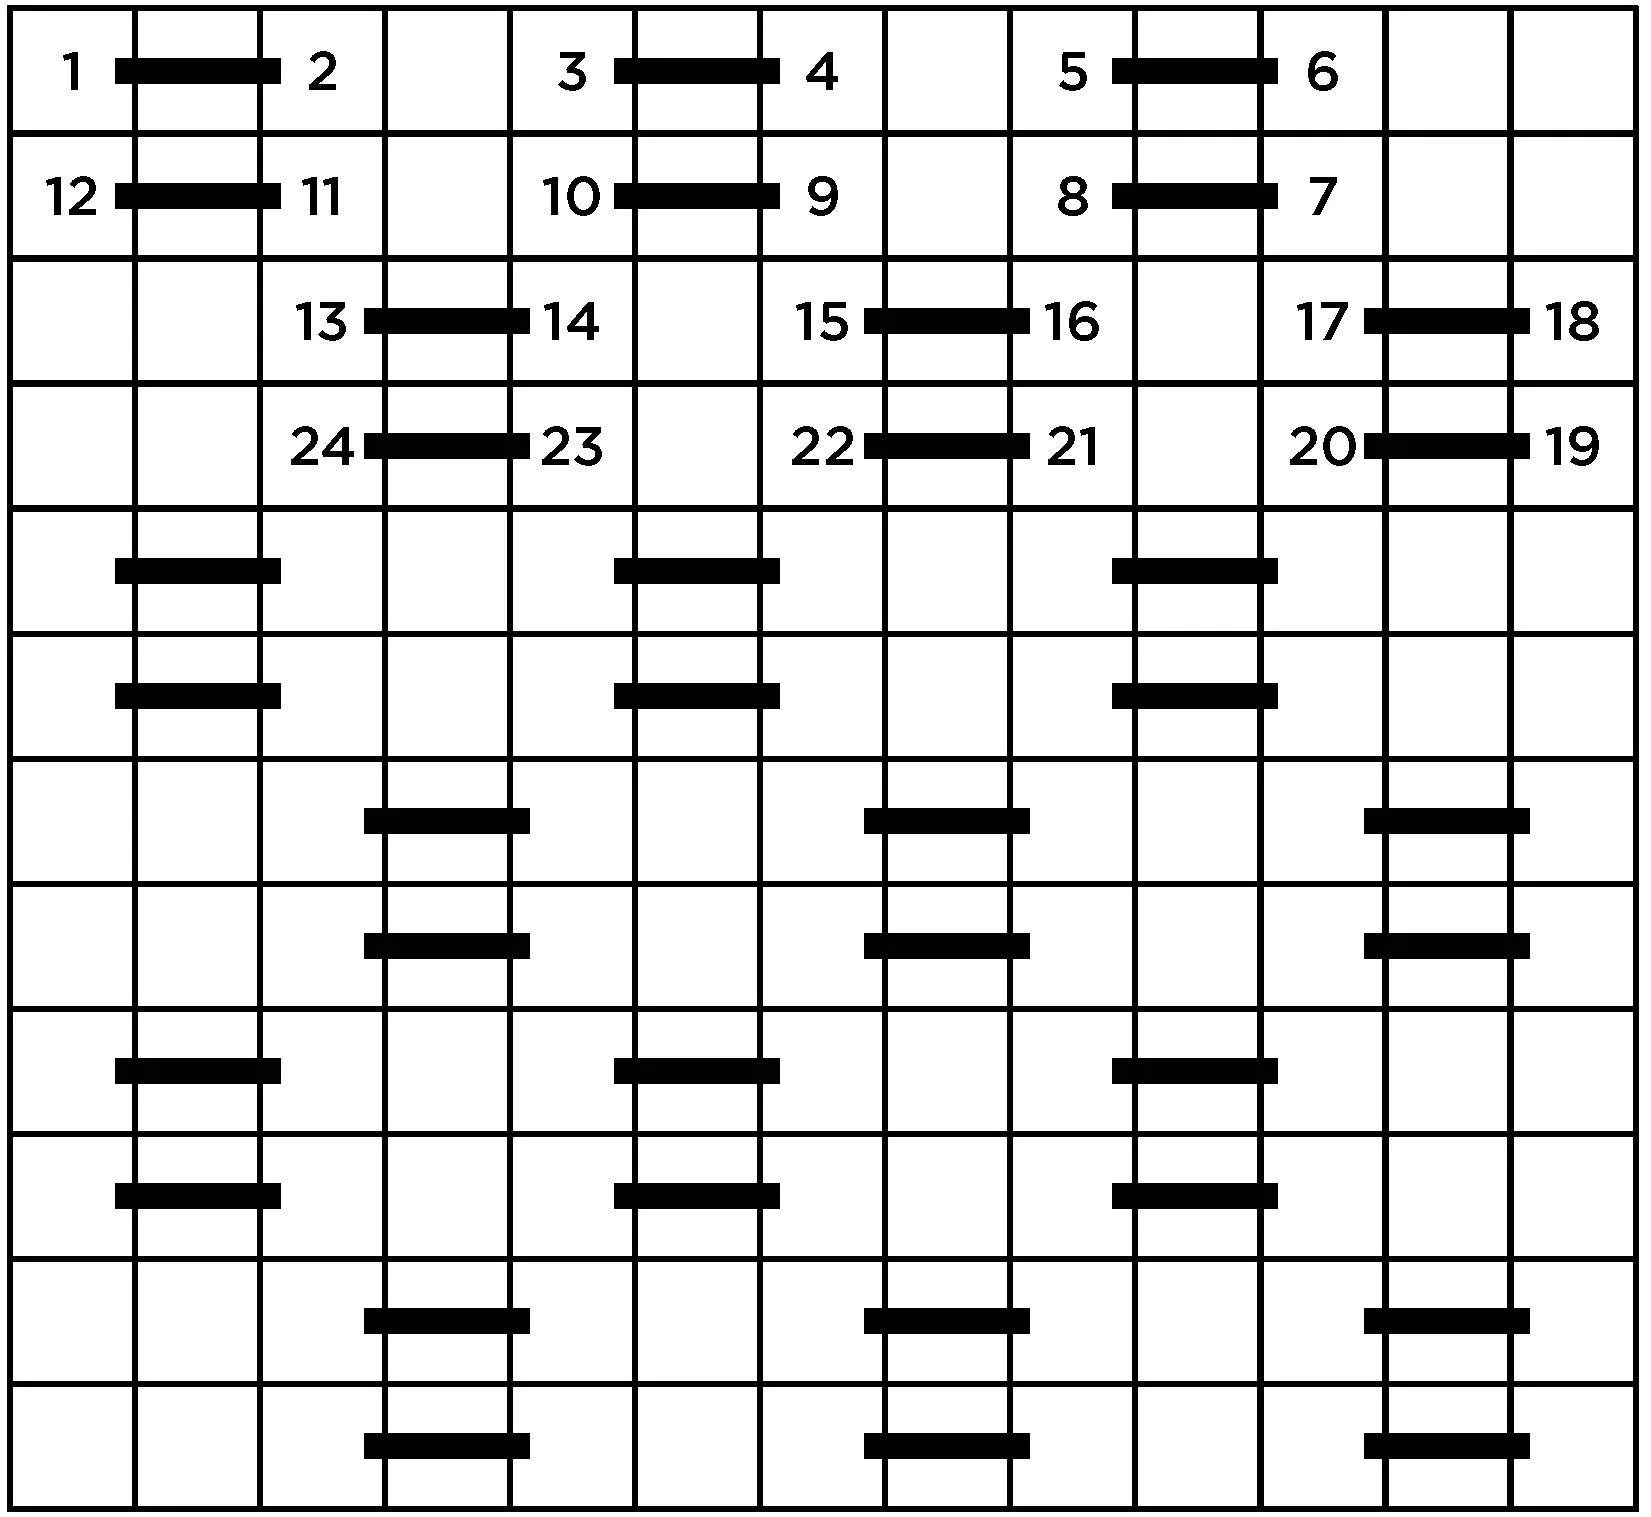
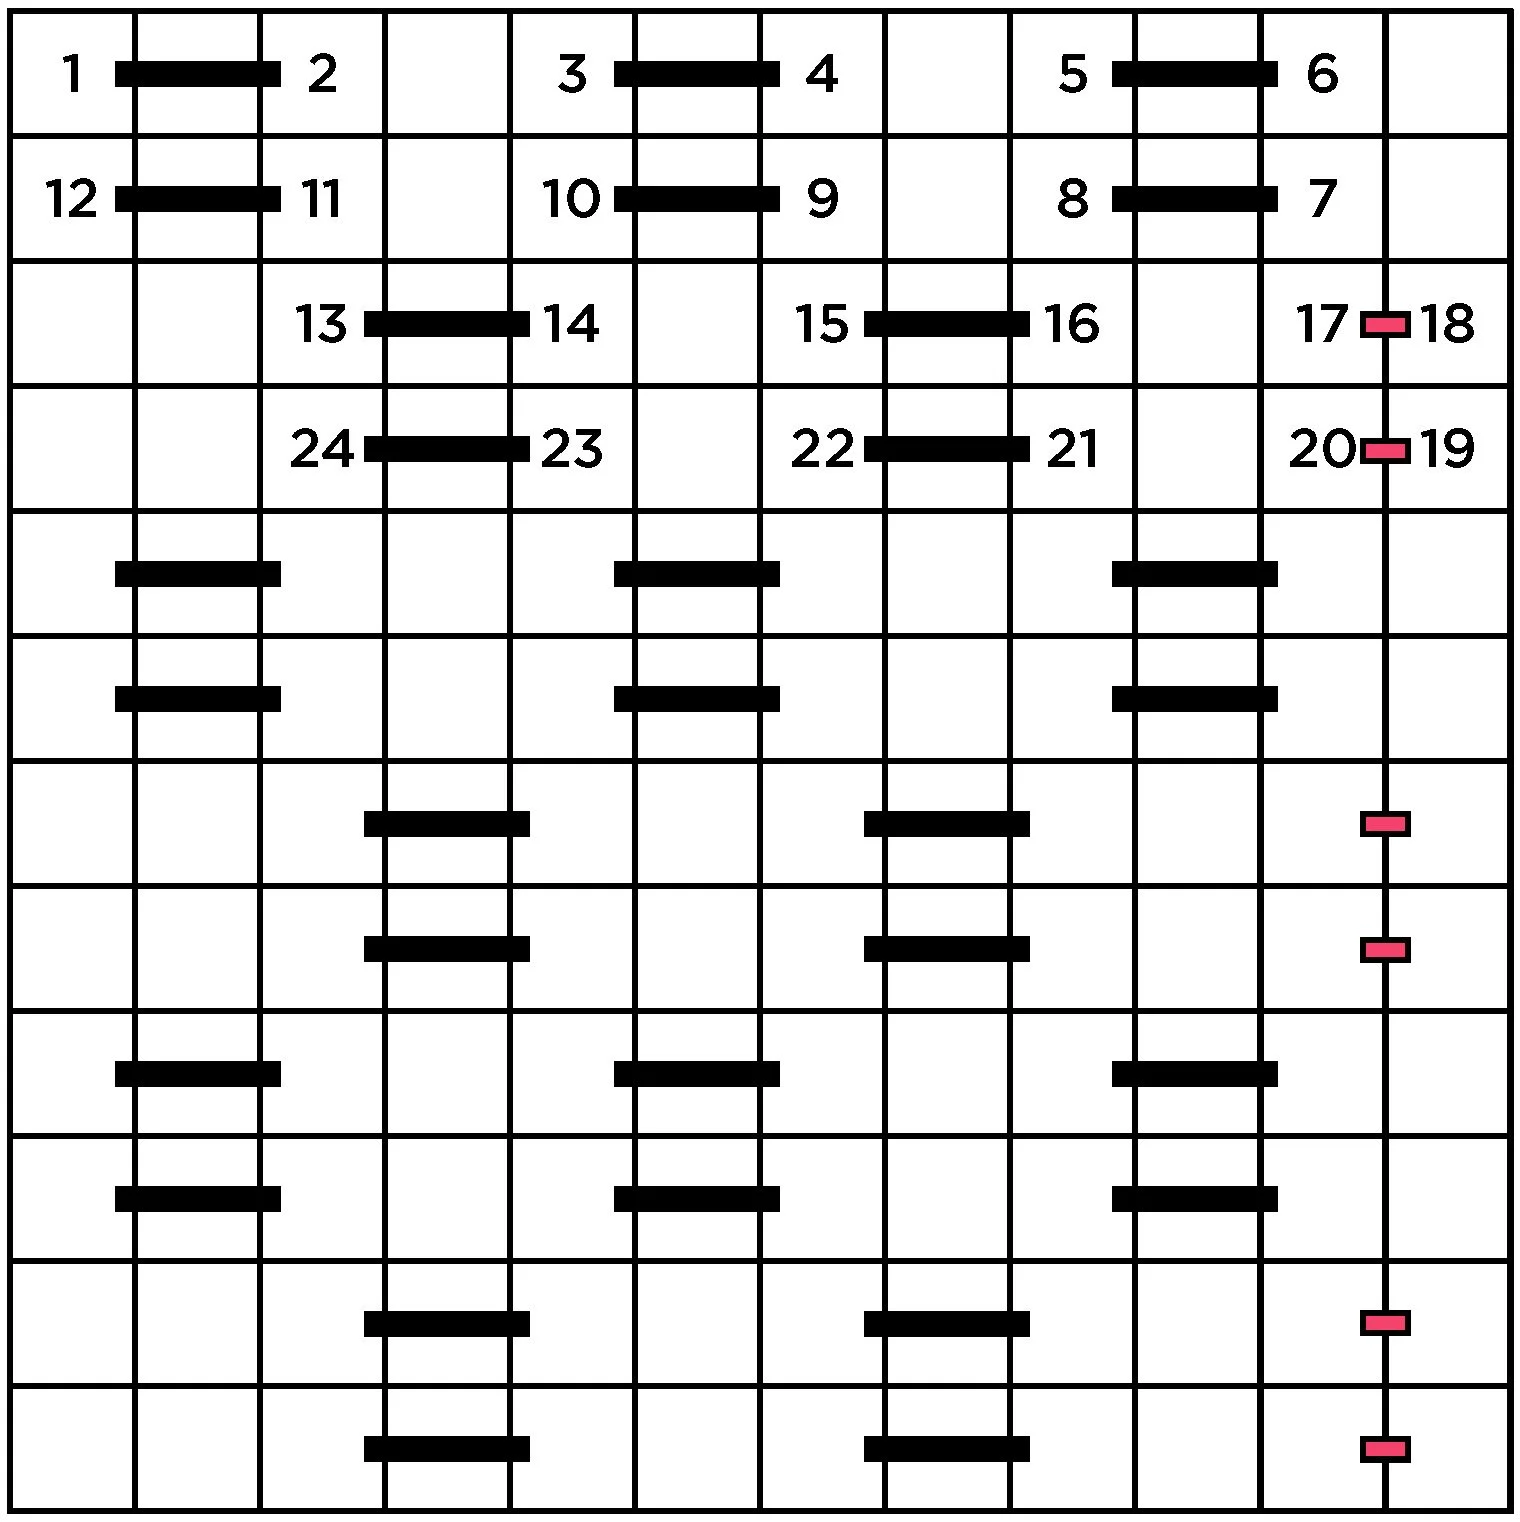
Compensating Straight Stitches: Diagram on left is full stitch pattern. I removed one row from the right side. The pink lines represent the compensation stitches.
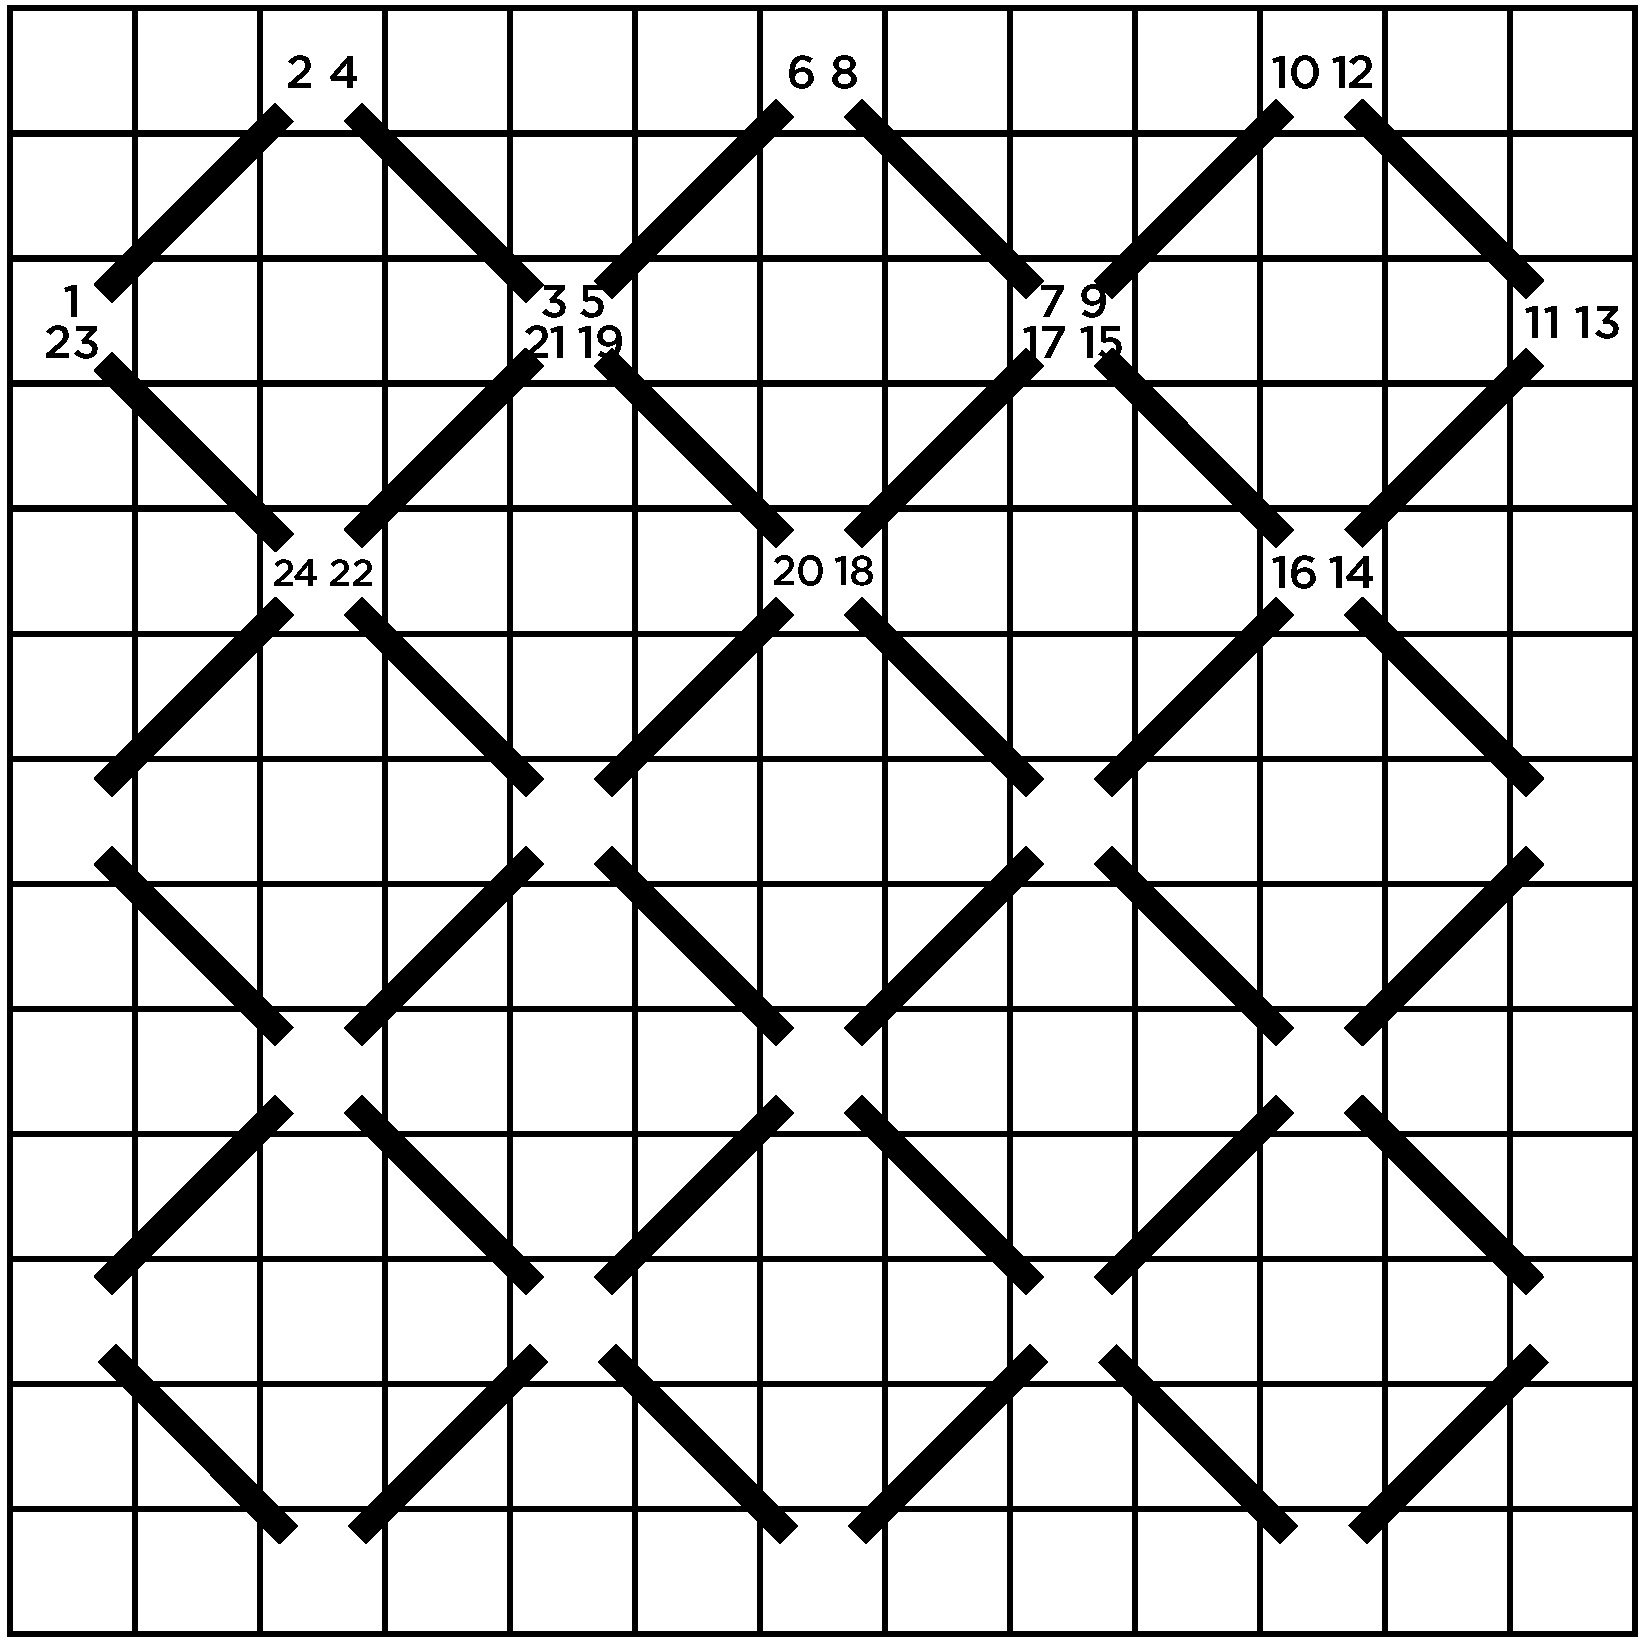
Compensating Diagonal Stitches: Diagram on left is full stitch pattern. I removed one row from the bottom in the diagram on the right side. The pink lines represent the compensation stitches.
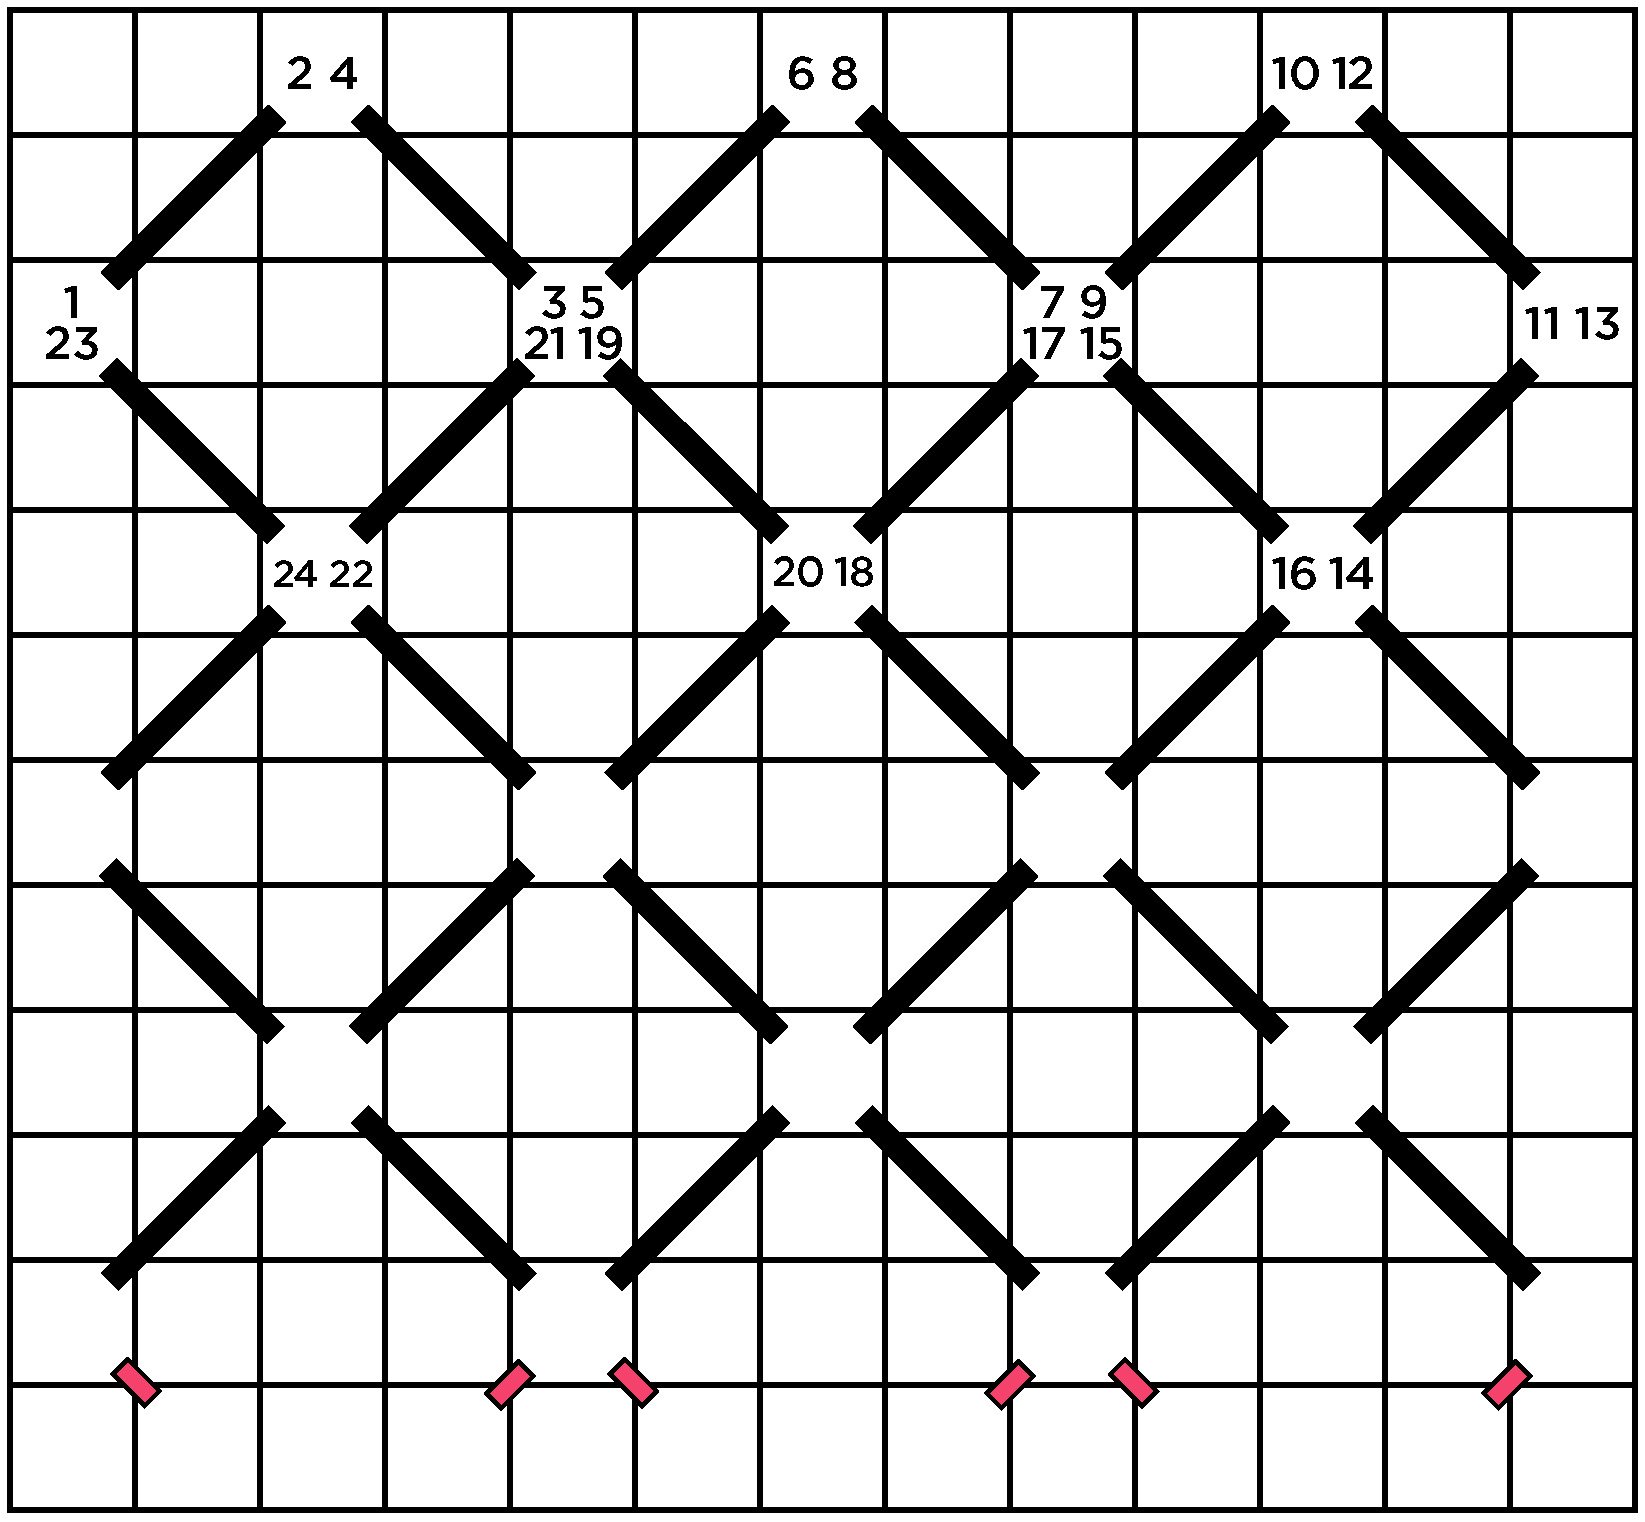
August 27, 2026
Small Project Stitch Planning
How to create a stitch plan in two parts. I offer insight on how to create a stitch plan for a small project, using multiple ornaments as examples. The video is in two parts on Instagram and a single fascinating video on TikTok. Cameos by Gigi, Diva Director, and Yul Brynner.
August 27, 2026 Featured Players
Say hello to the featured players of episode 4. The links in the caption below each ornament will take you to the blog post with a featured stitch.
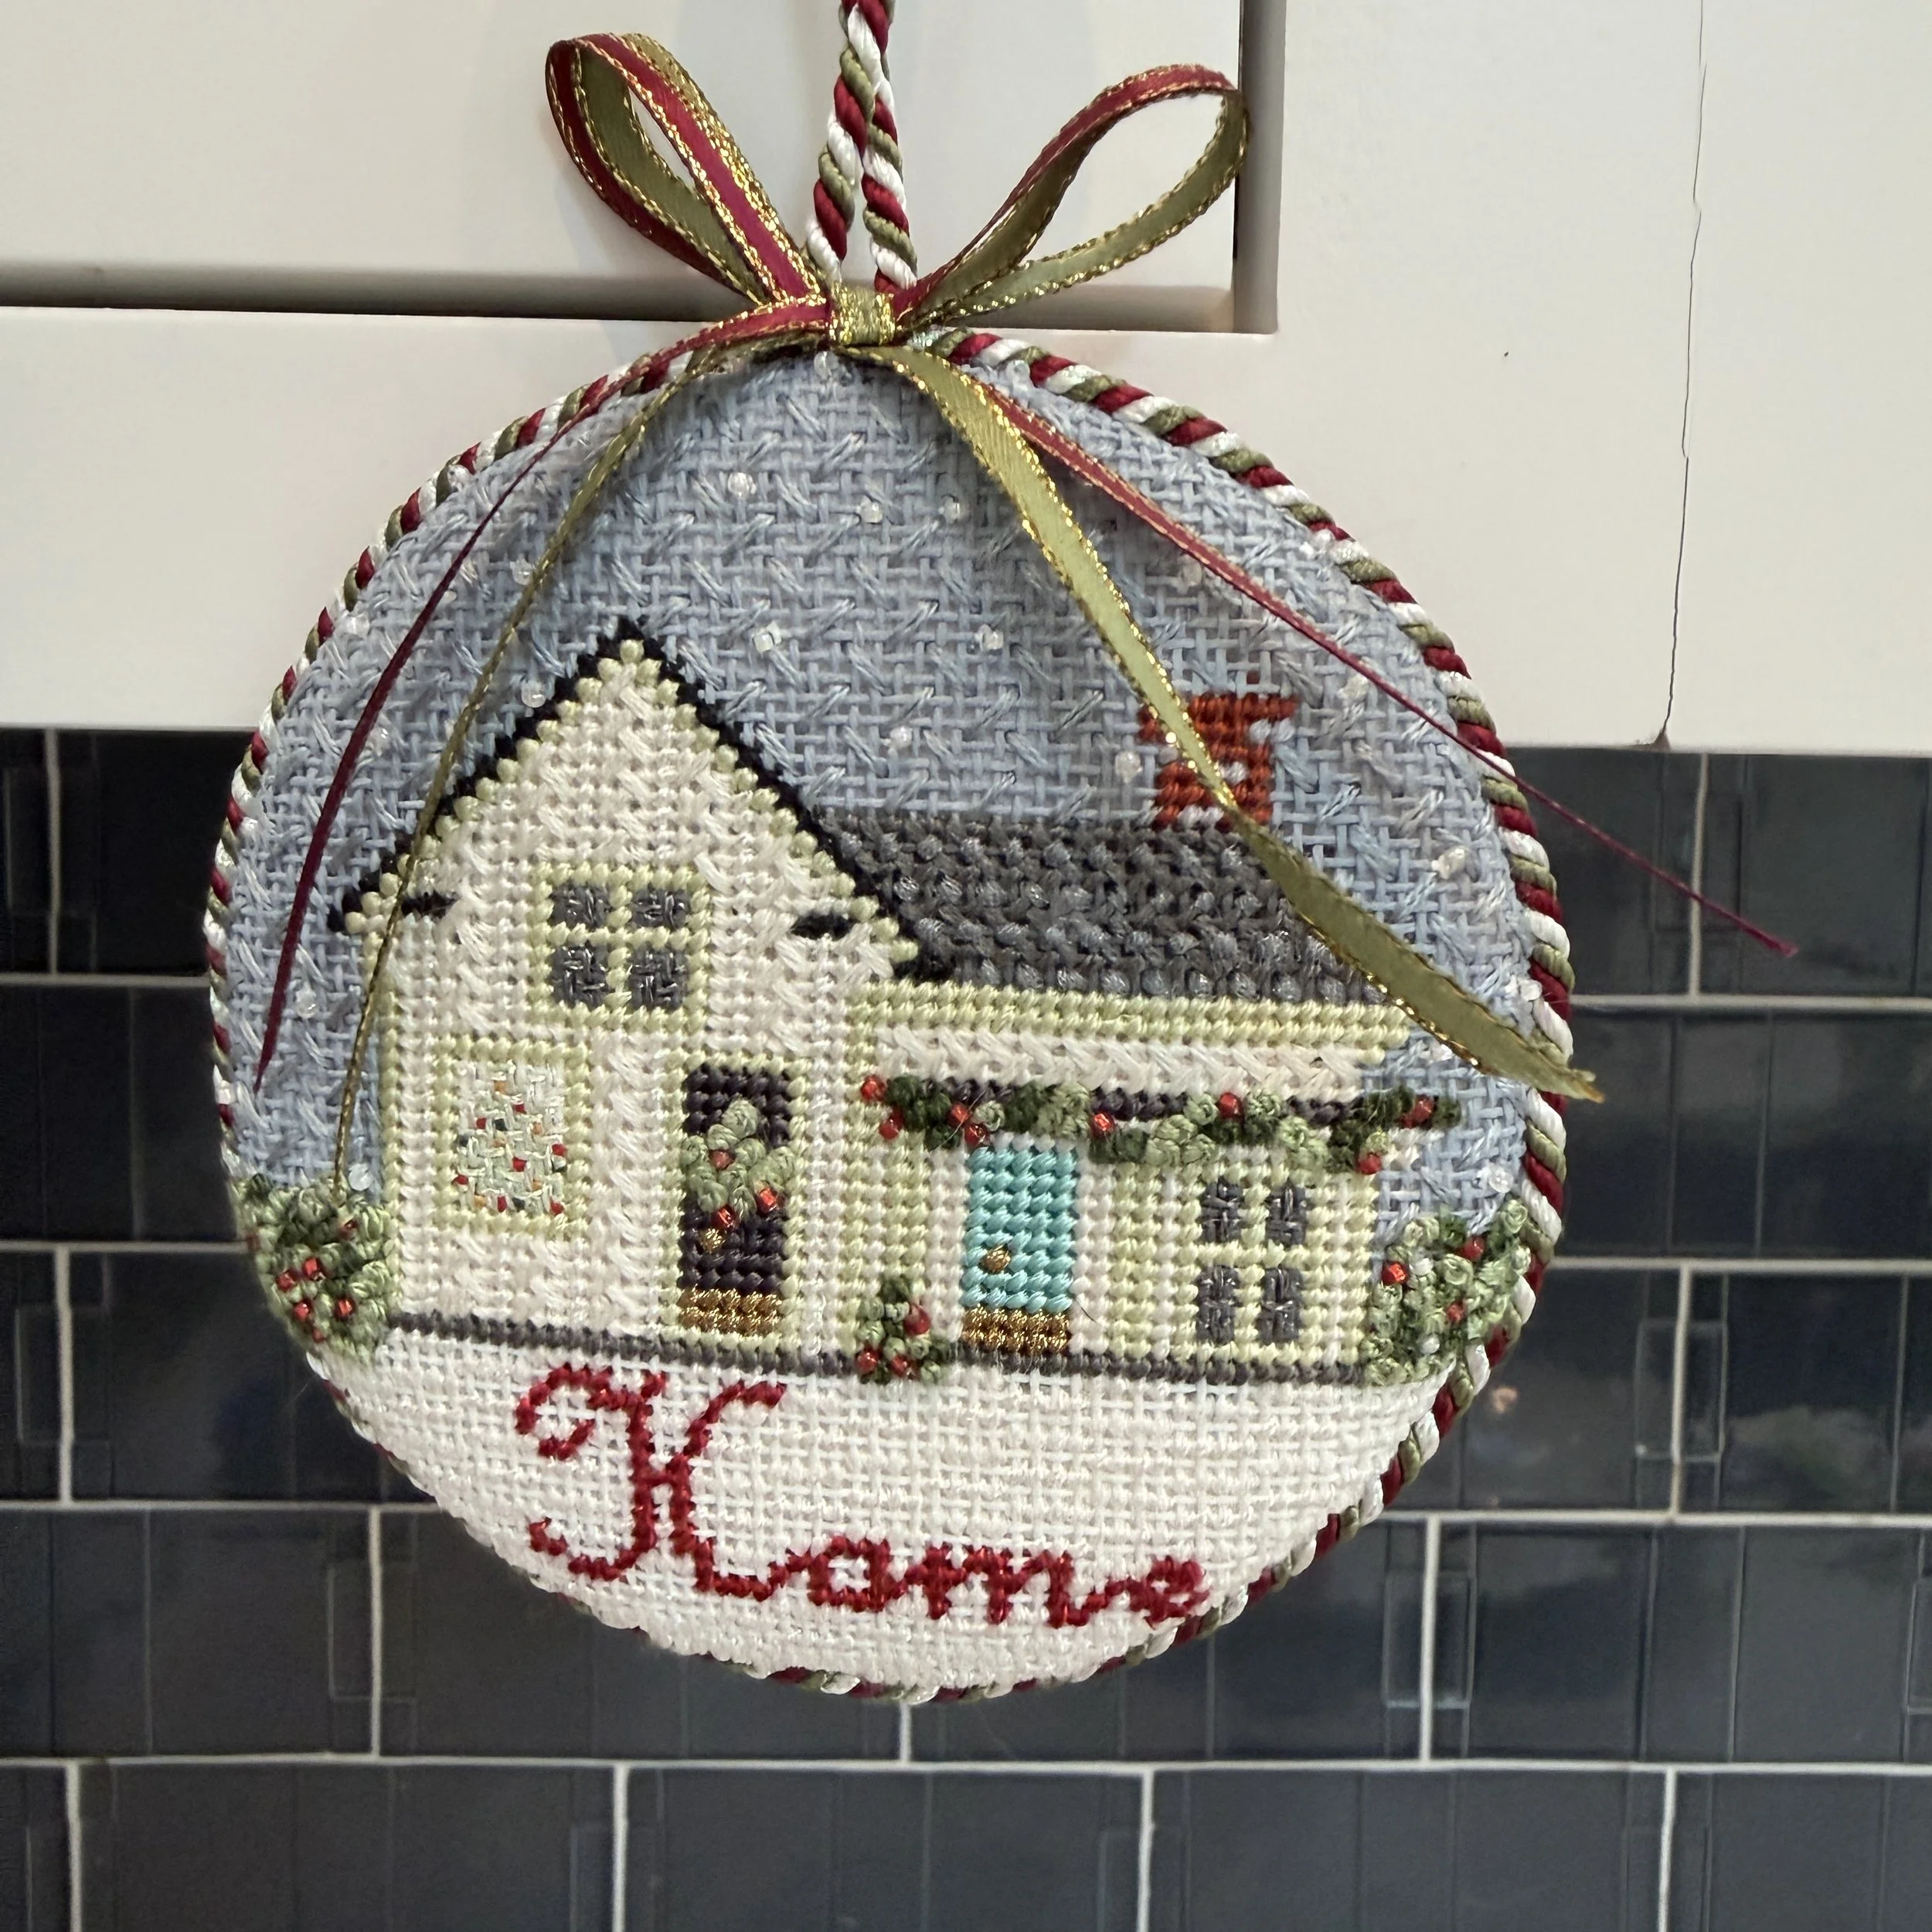
Home Ornament
“Home” is stitched in single tent stitches. The lettering is one row wide but there were no jagged edges, so I chose not to use the cross stitch technique discussed in the video. Bonus: here are the diagrams for the Roof, Front Wall, Window, and Sky.
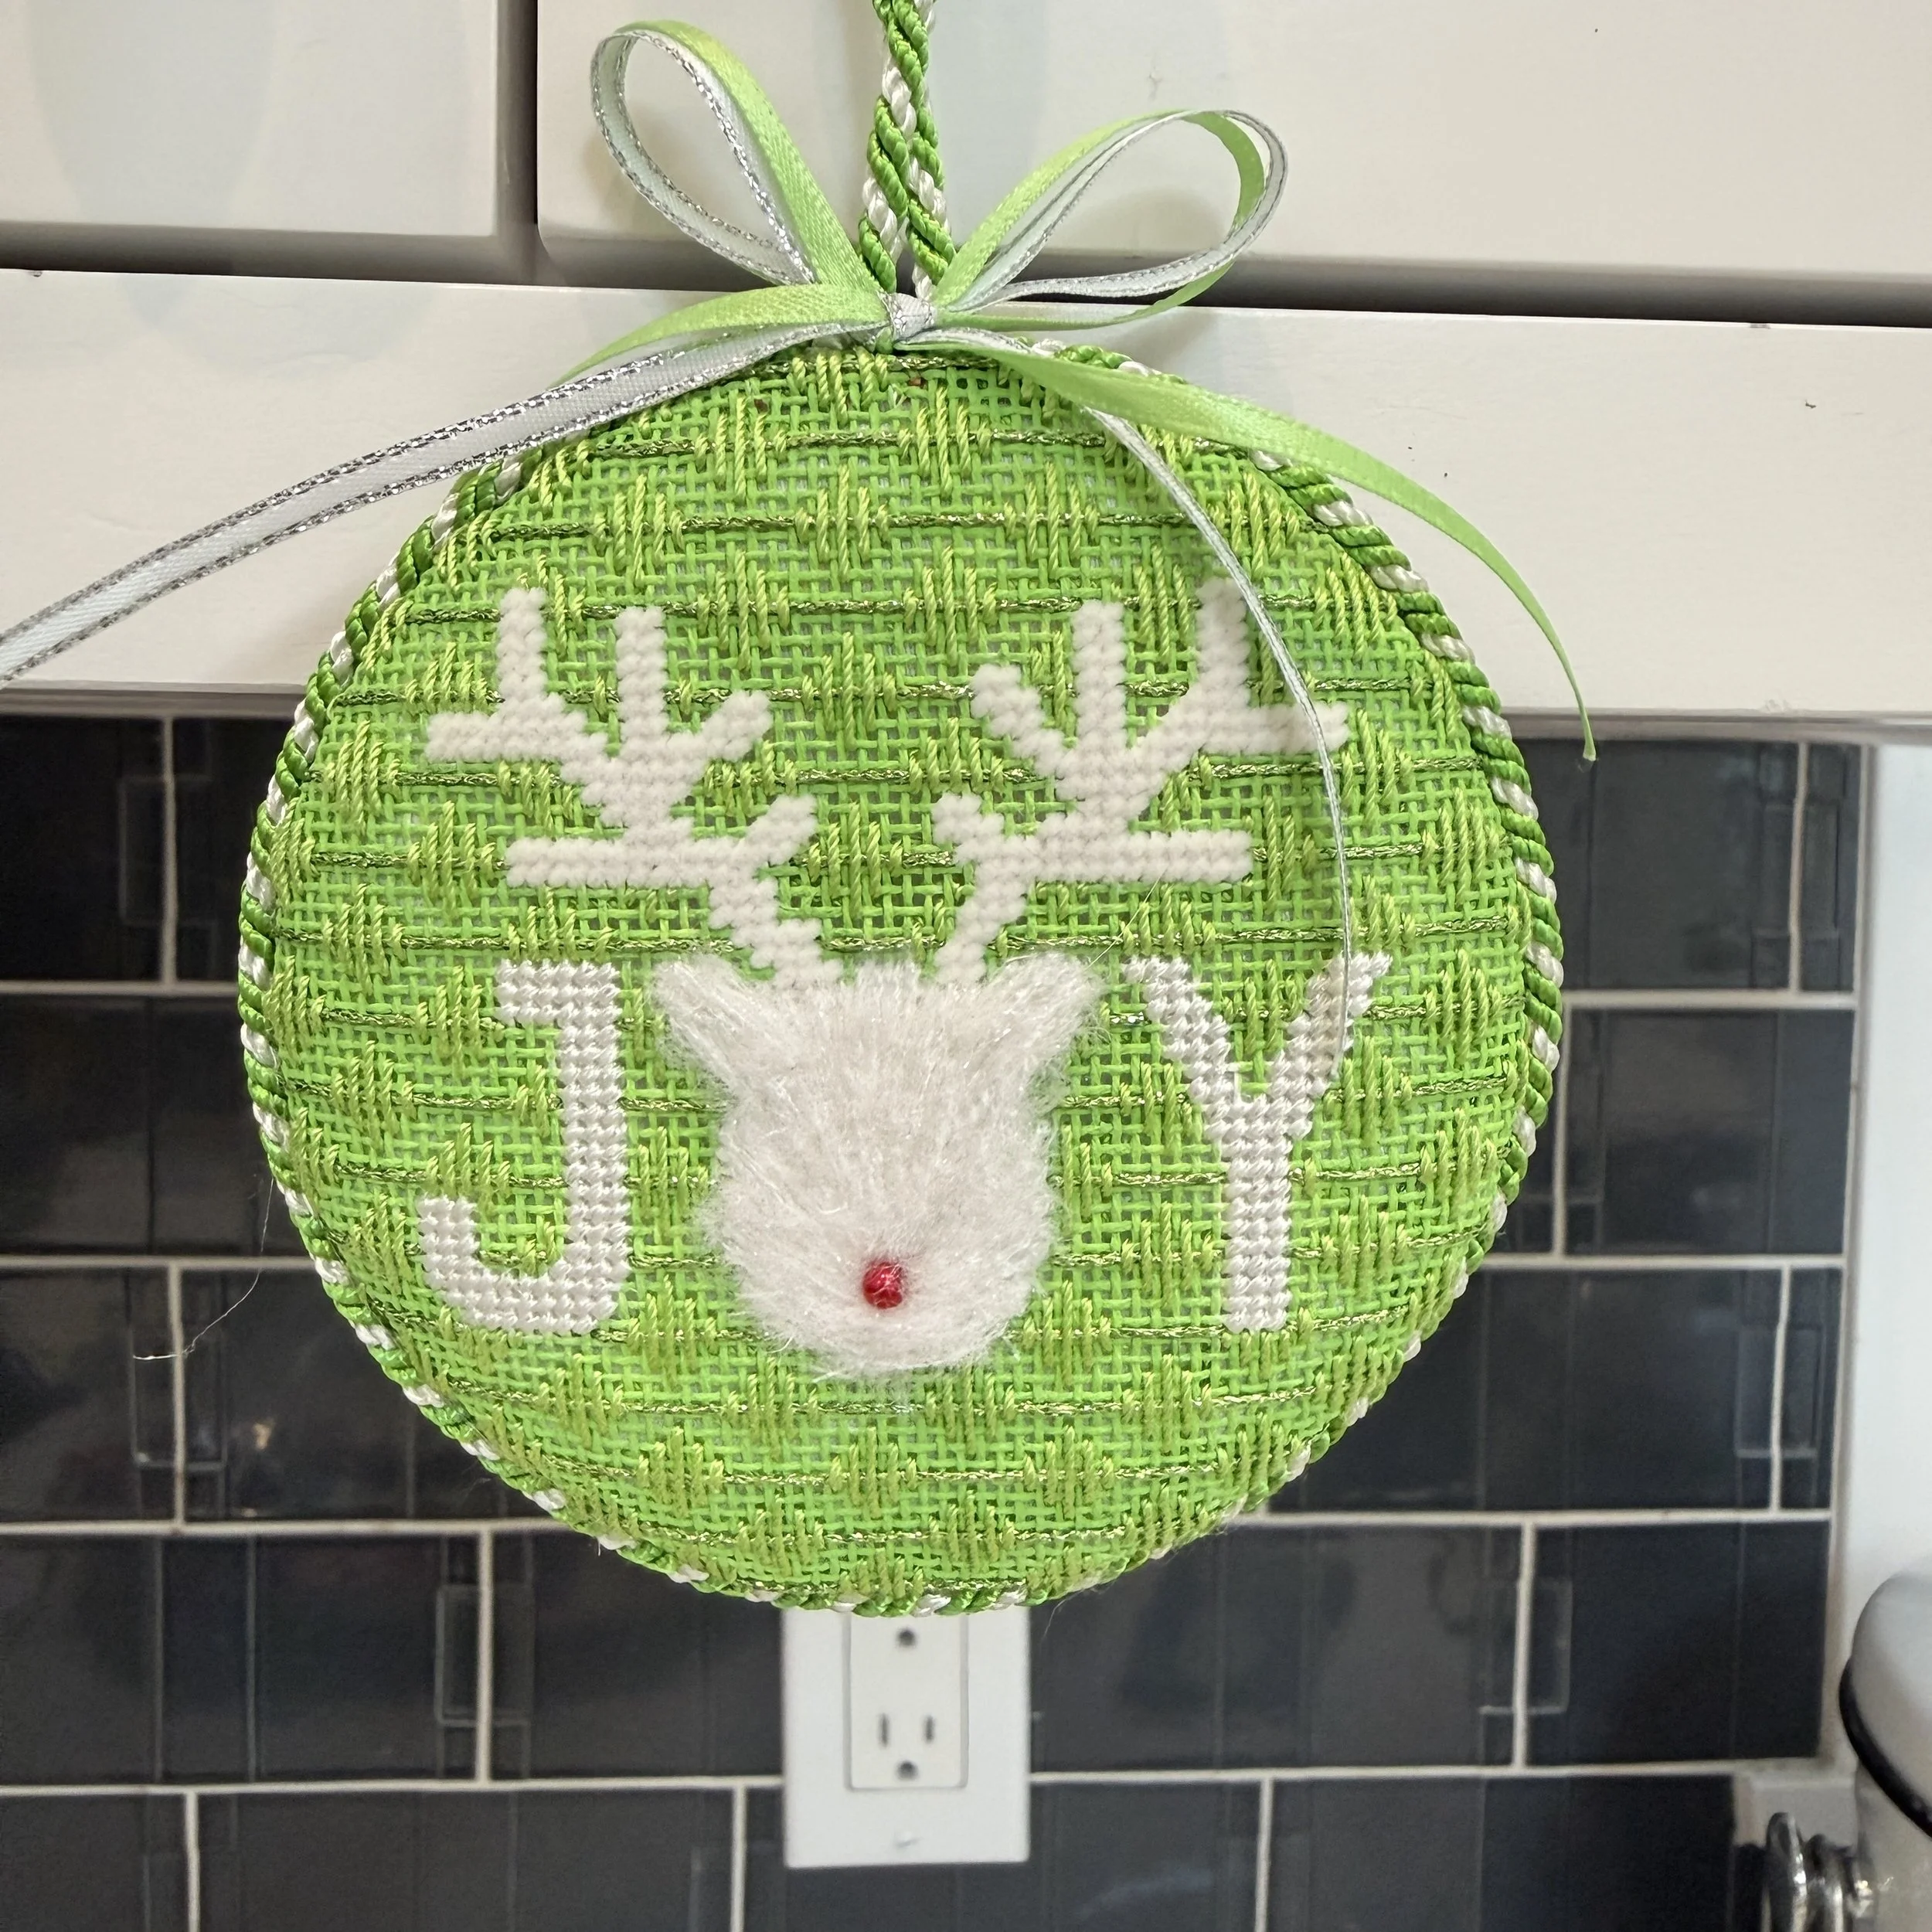
JOY Ornament
The J and Y are stitched in basketweave. Bonus: here are the diagrams for the background stitch.
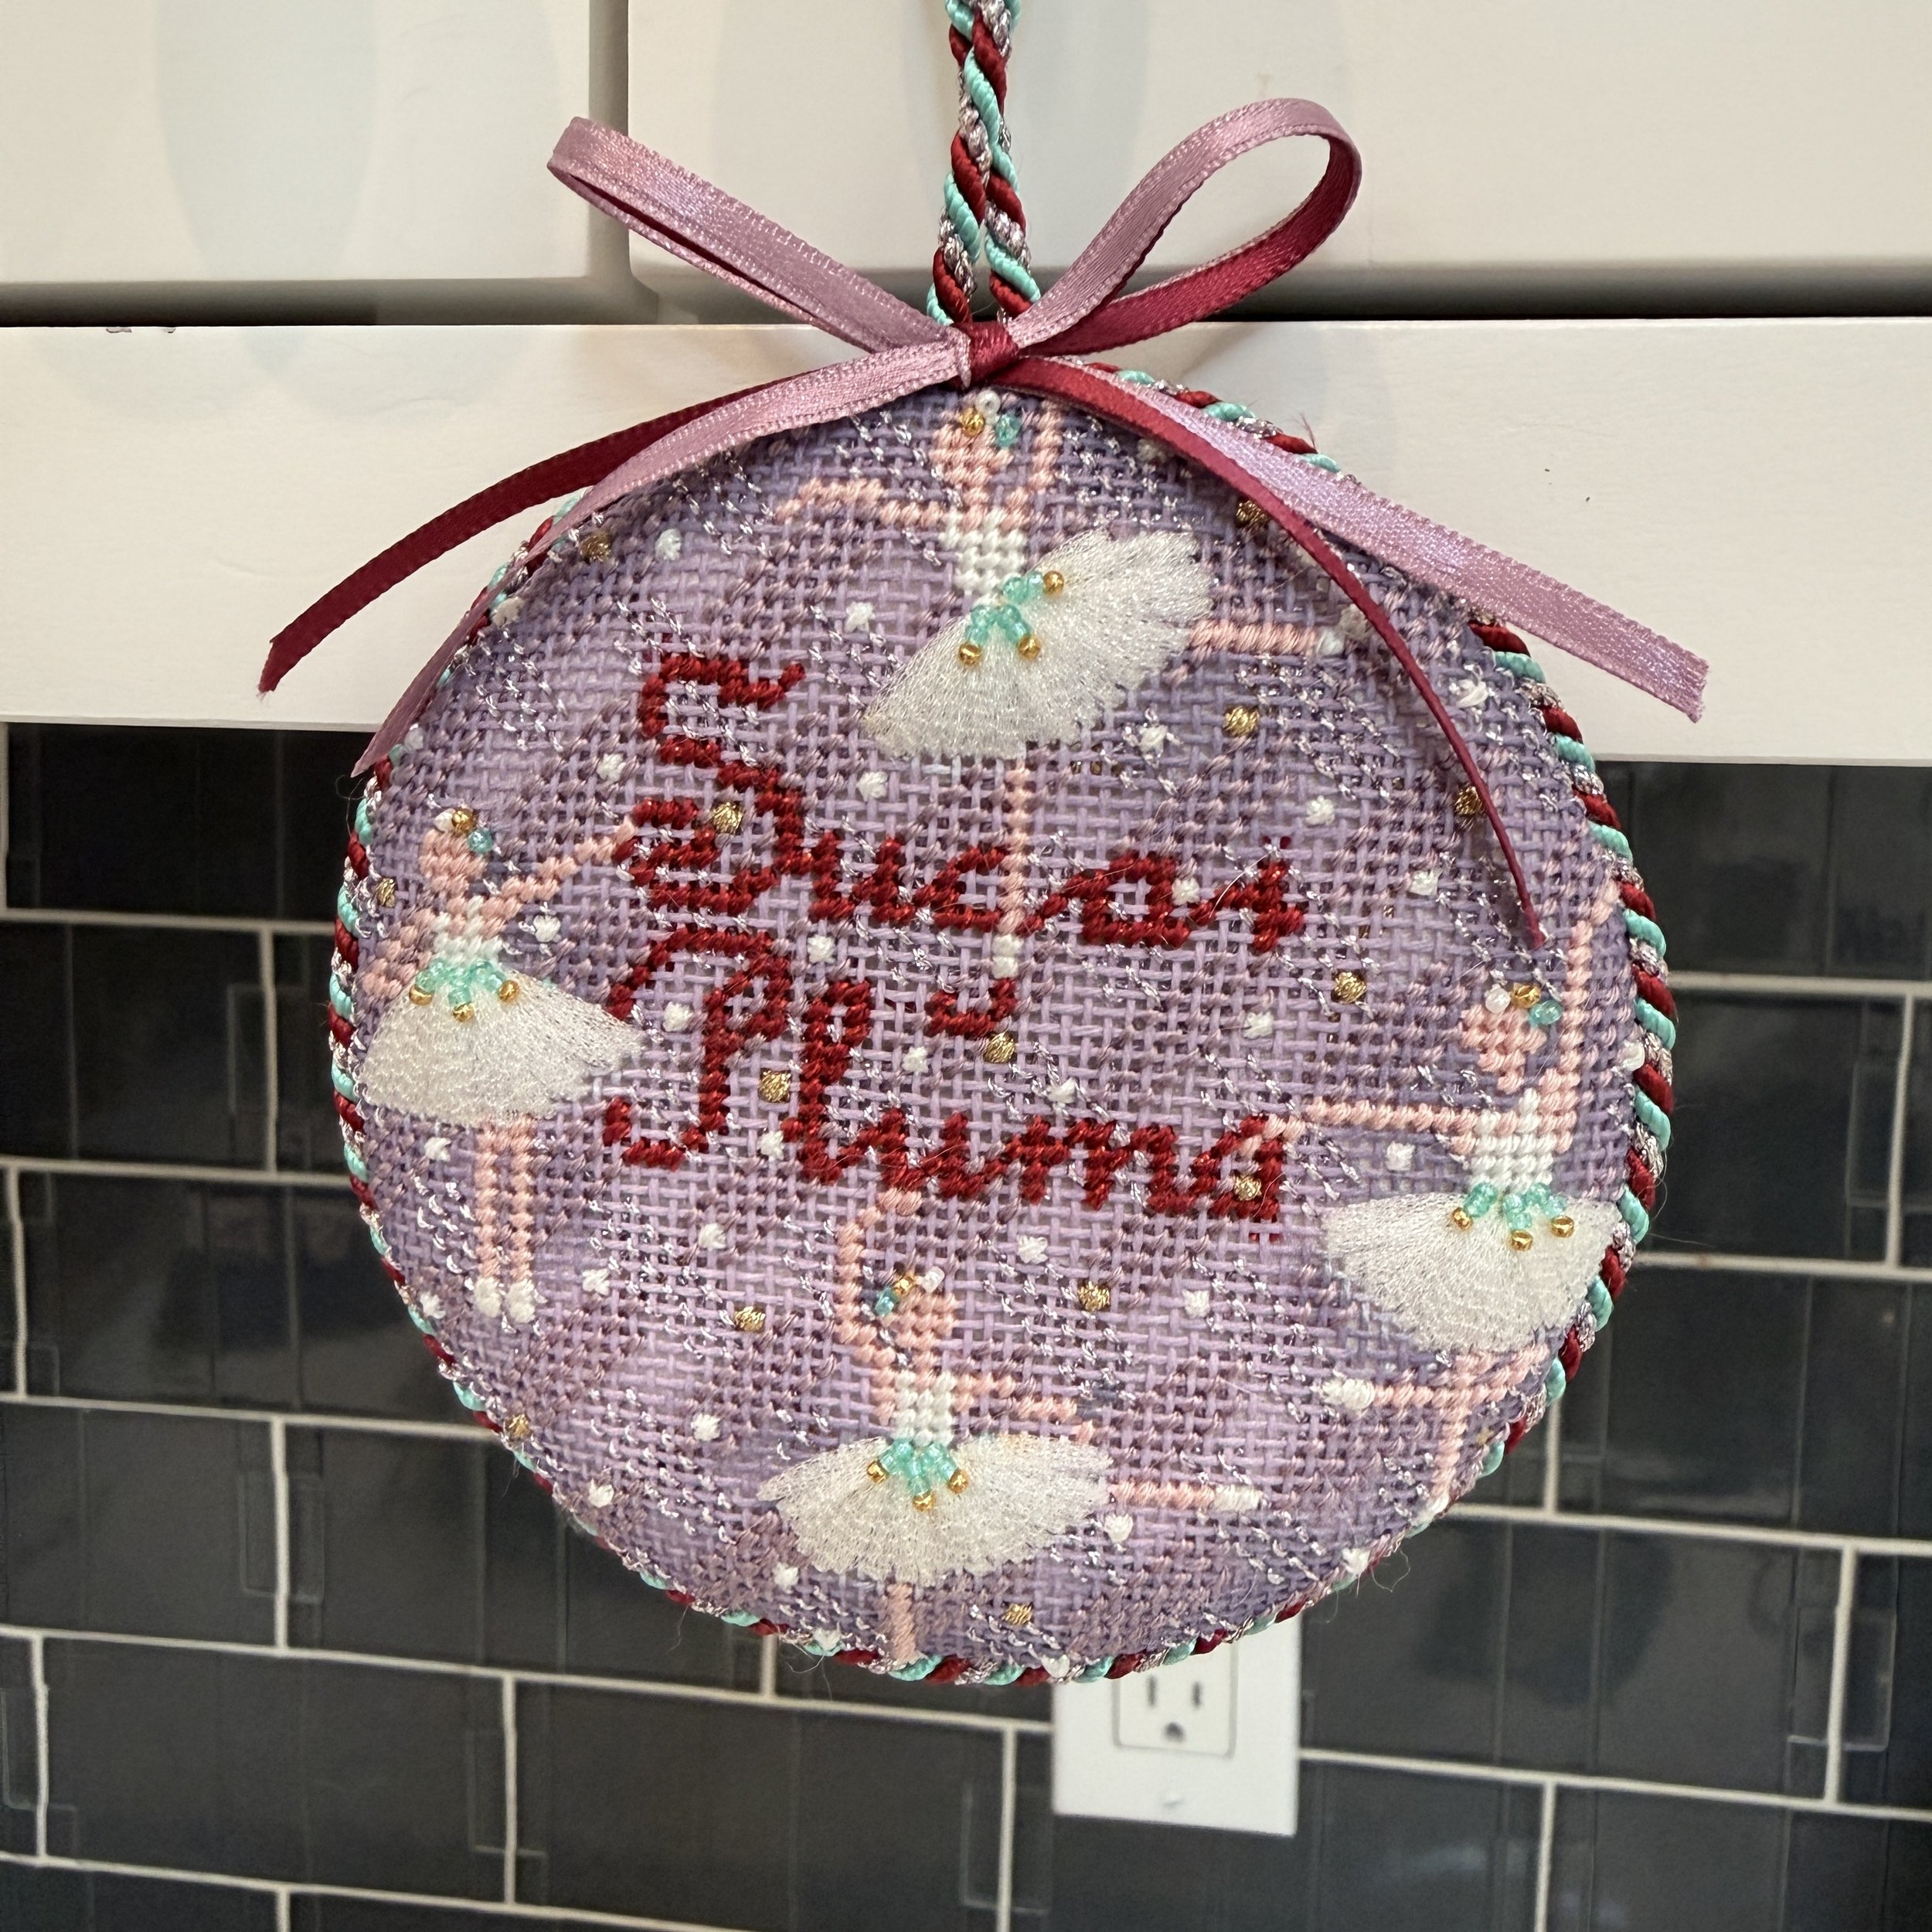
Sugar Plums Ornament
“Sugar Plums” is stitched in single tent stitches. The lettering is one row wide but there were no jagged edges, so I chose not to use the cross stitch technique discussed in the video. background stitch
The following three ornaments feature cross stitches instead of tent stitches for the lettering. This technique eliminates the “jagged” edges created when a diagonal path of stitches starts in the upper right and end in the lower left. I either stitch it with single tent stitches or with cross stitches.
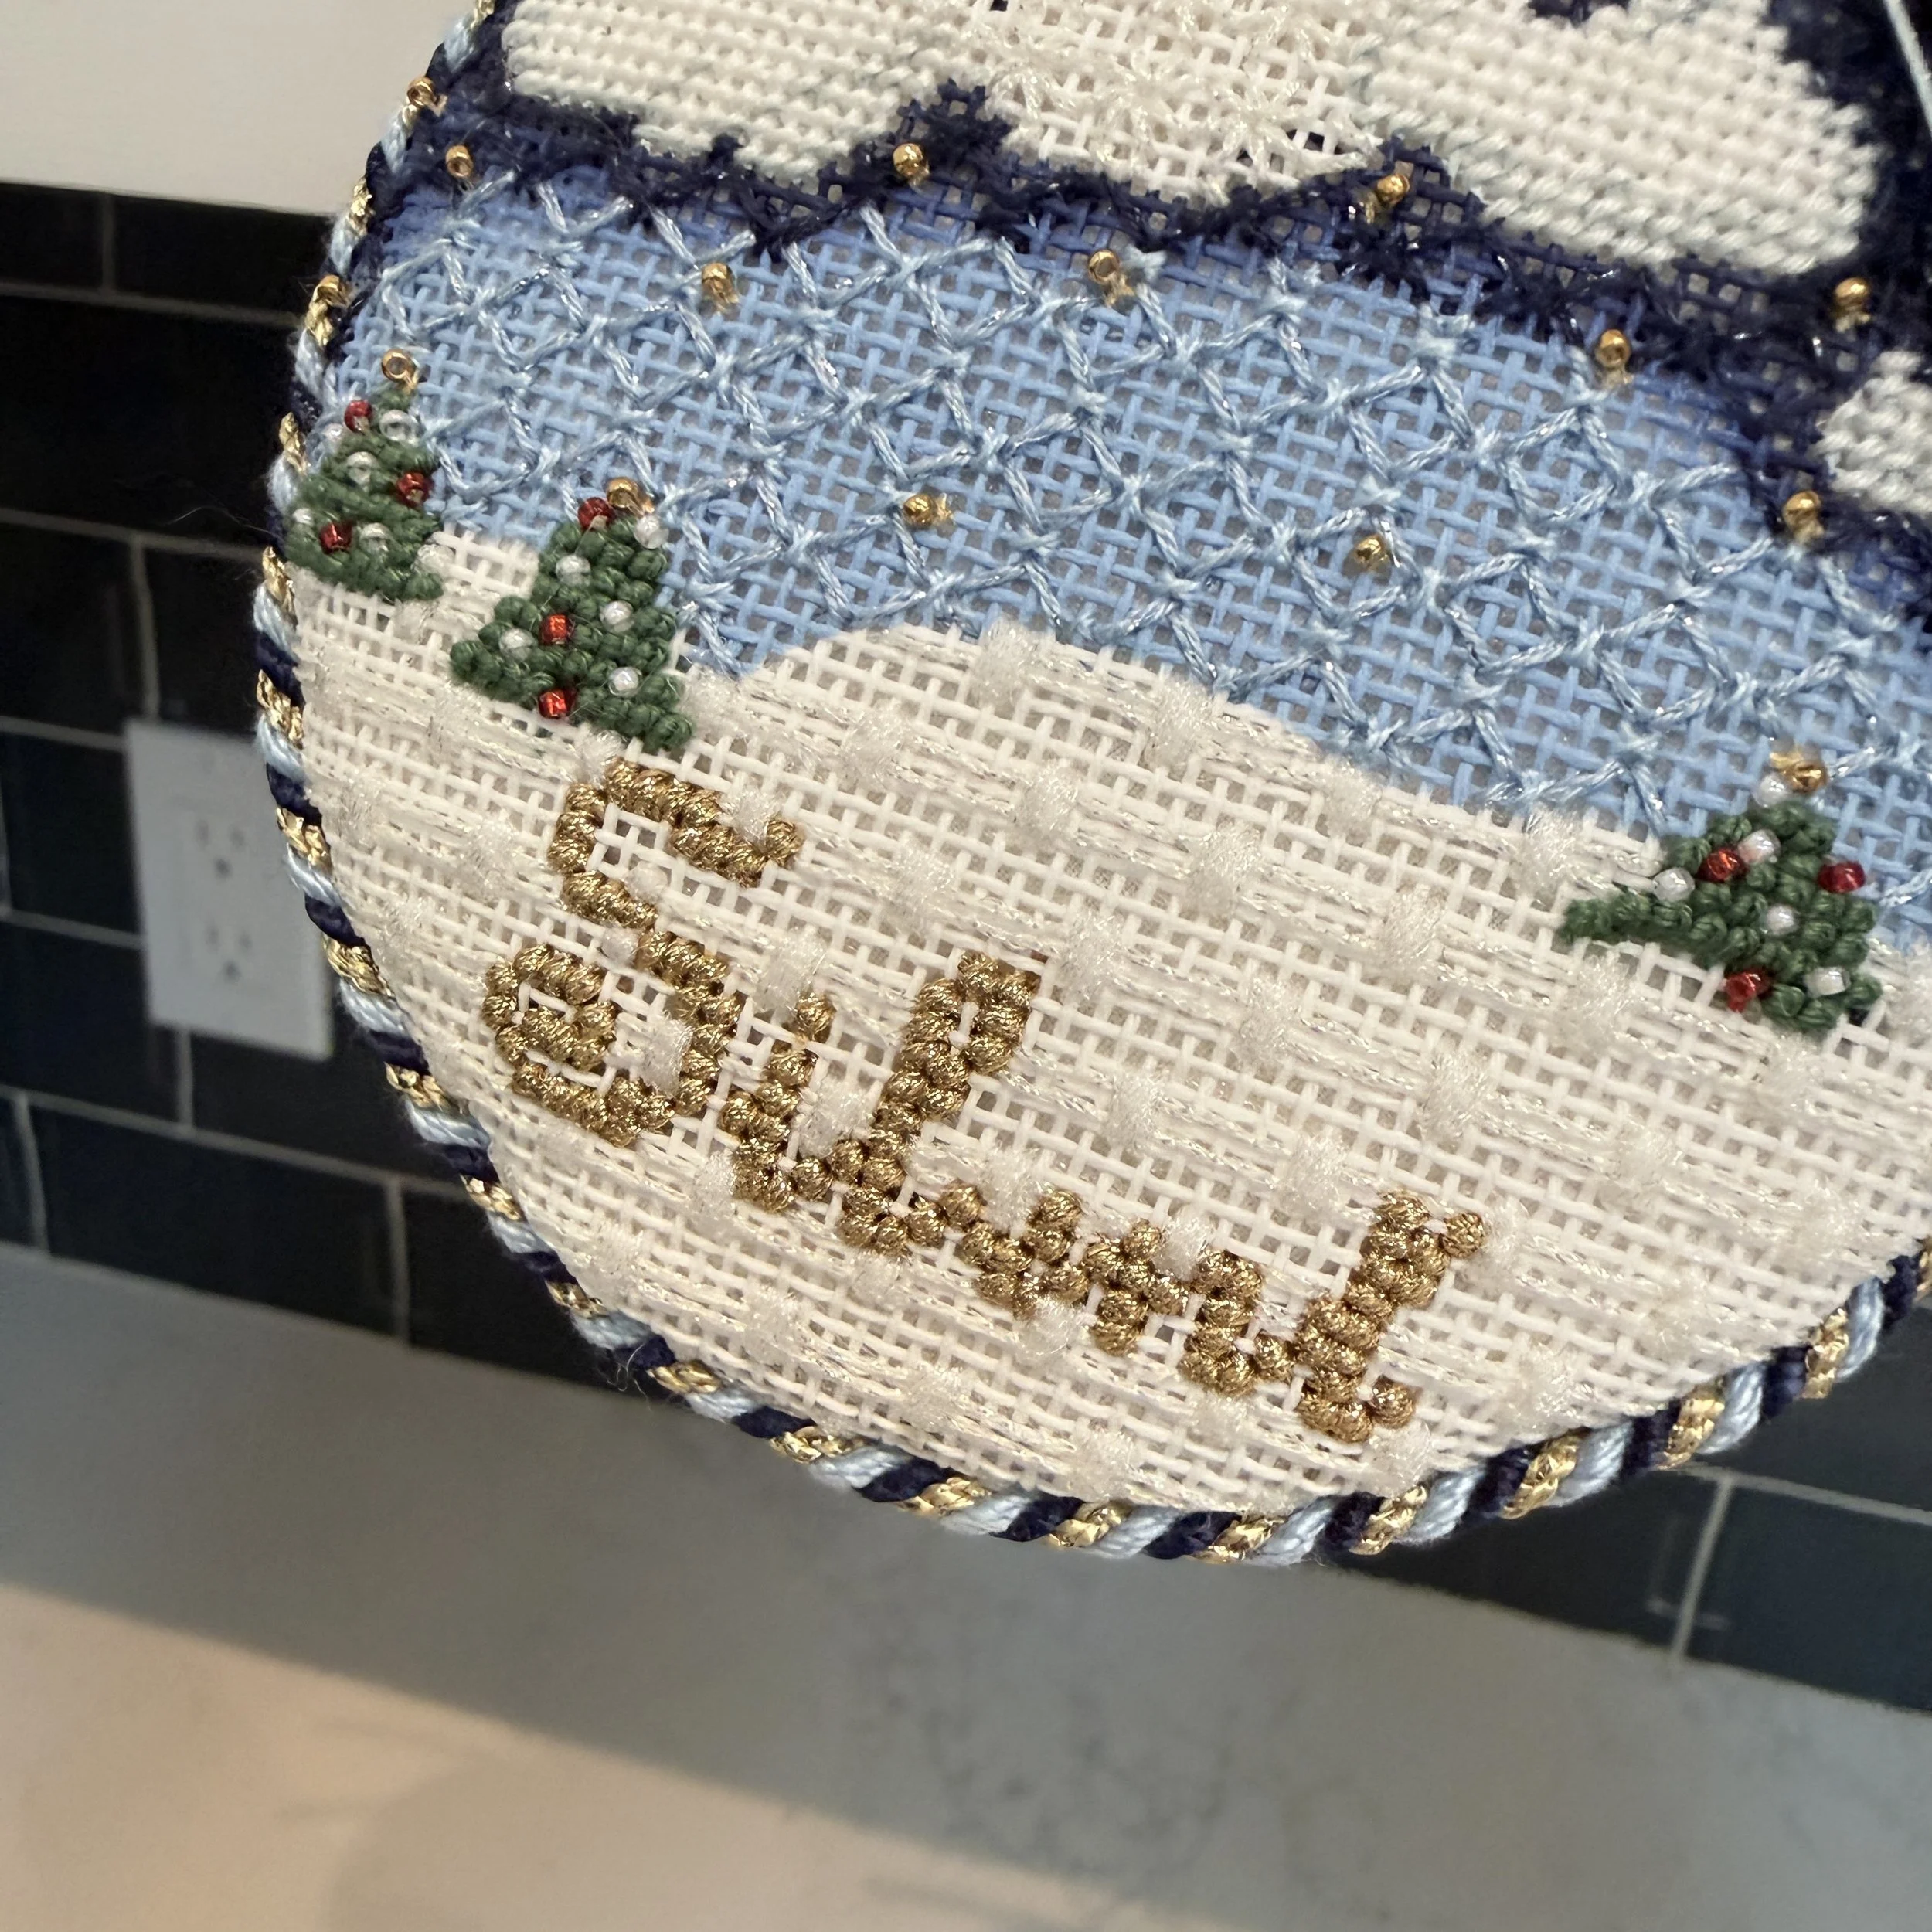
Sugar Plums Ornament
Cross stitches were used instead of tent stitches for the lettering that was a single row wide. This eliminates jagged edges/open spaces between the stitches. Bonus: here is the diagram for the the moon.
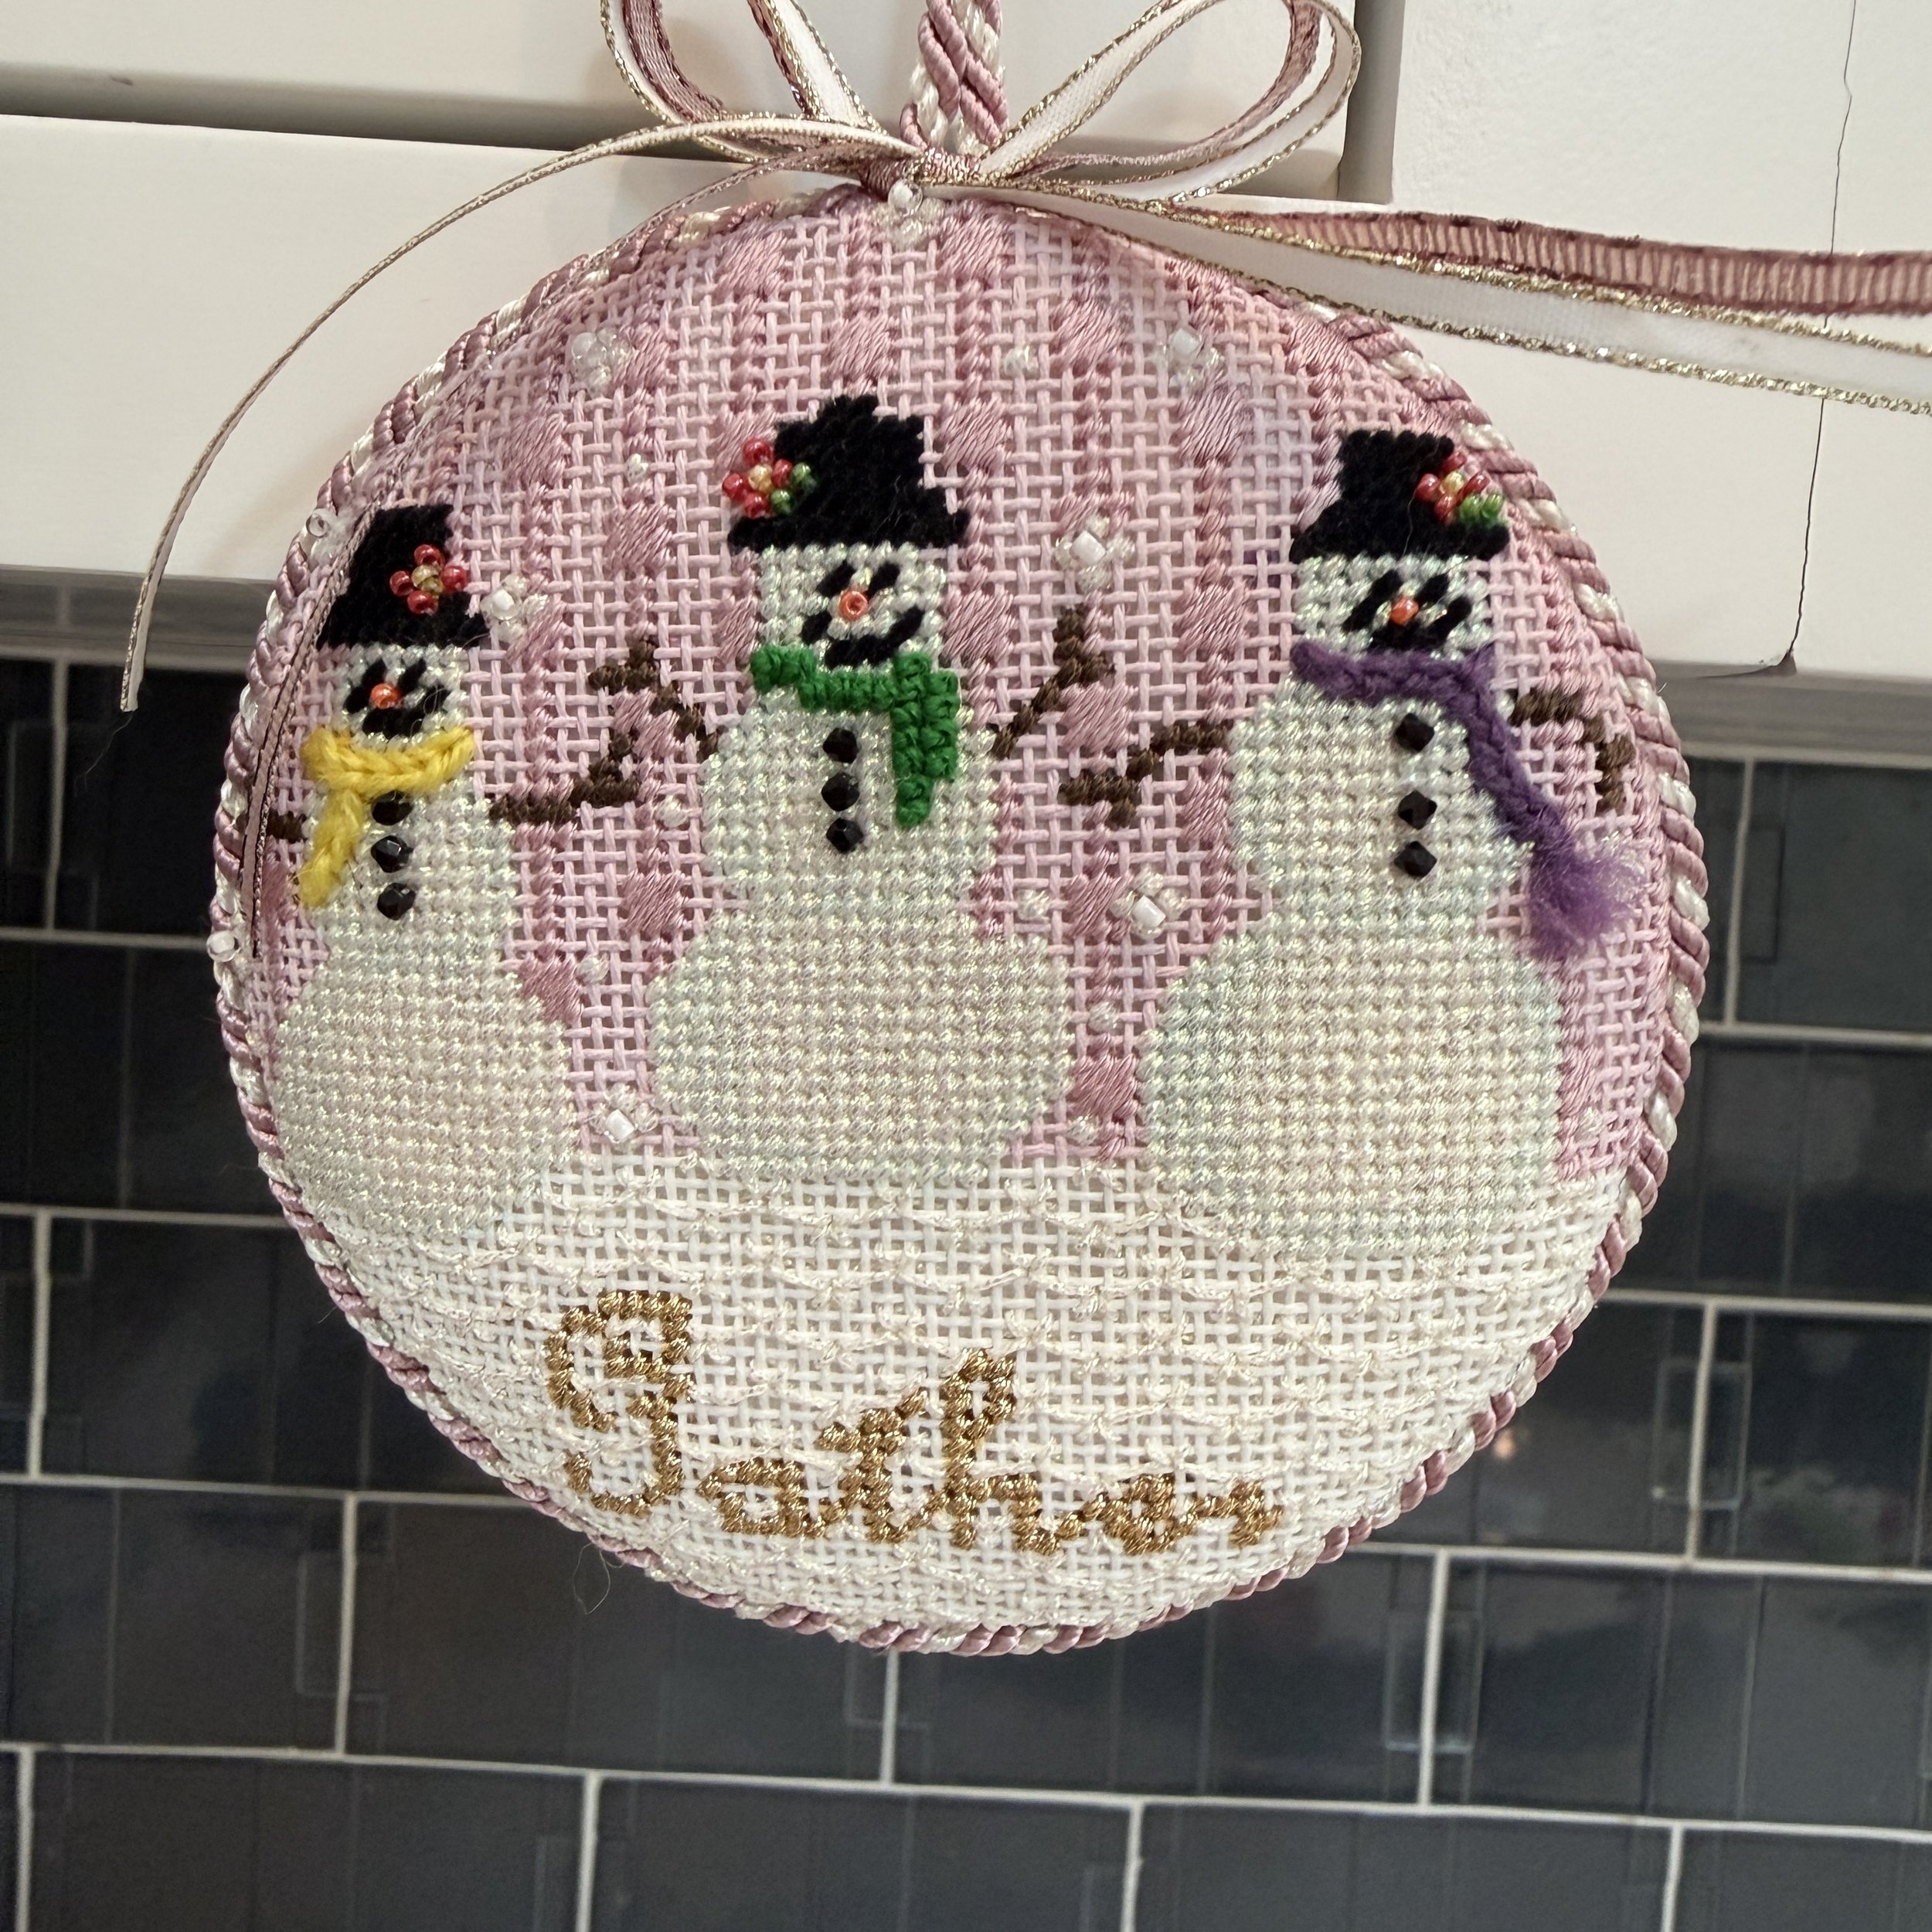
Gather Ornament
Cross stitches were used instead of tent stitches for the lettering that was a single row wide. This eliminates jagged edges/open spaces between the stitches. Bonus: here is the diagram for the snow and the pink sky.
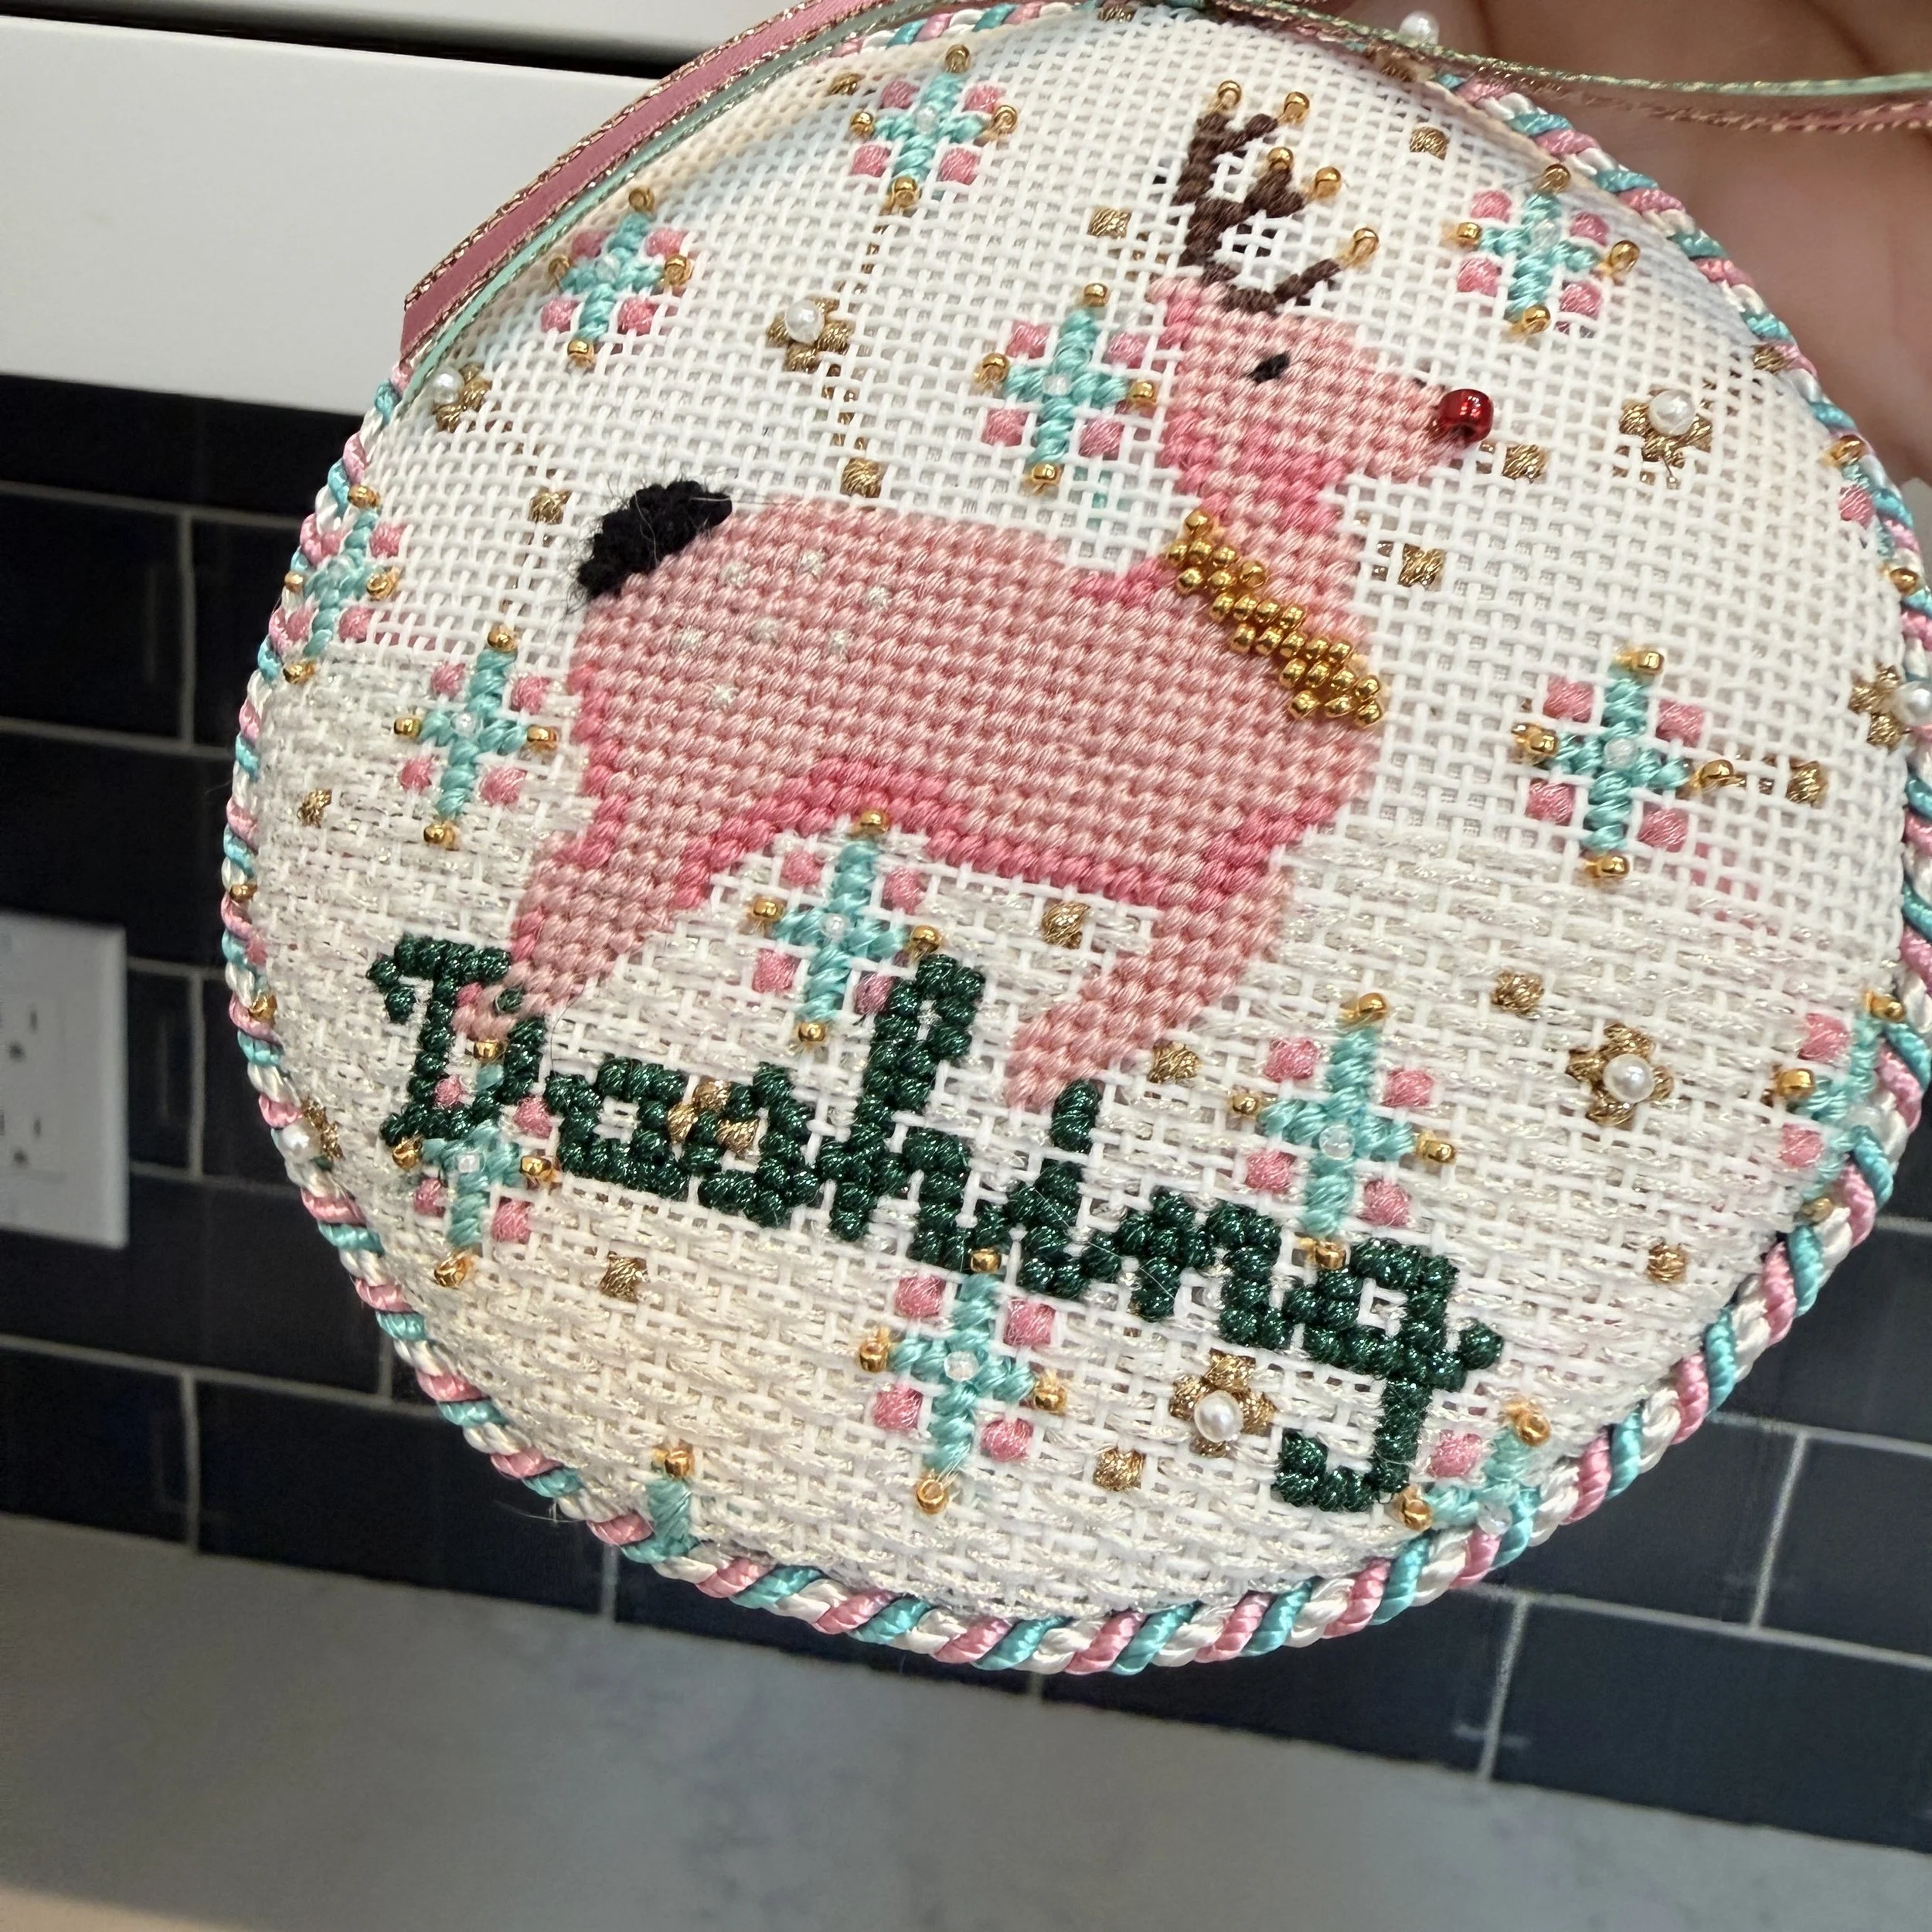
Dashing Ornament
Cross stitches were used instead of tent stitches for the lettering that was a single row wide. This eliminates jagged edges/open spaces between the stitches.
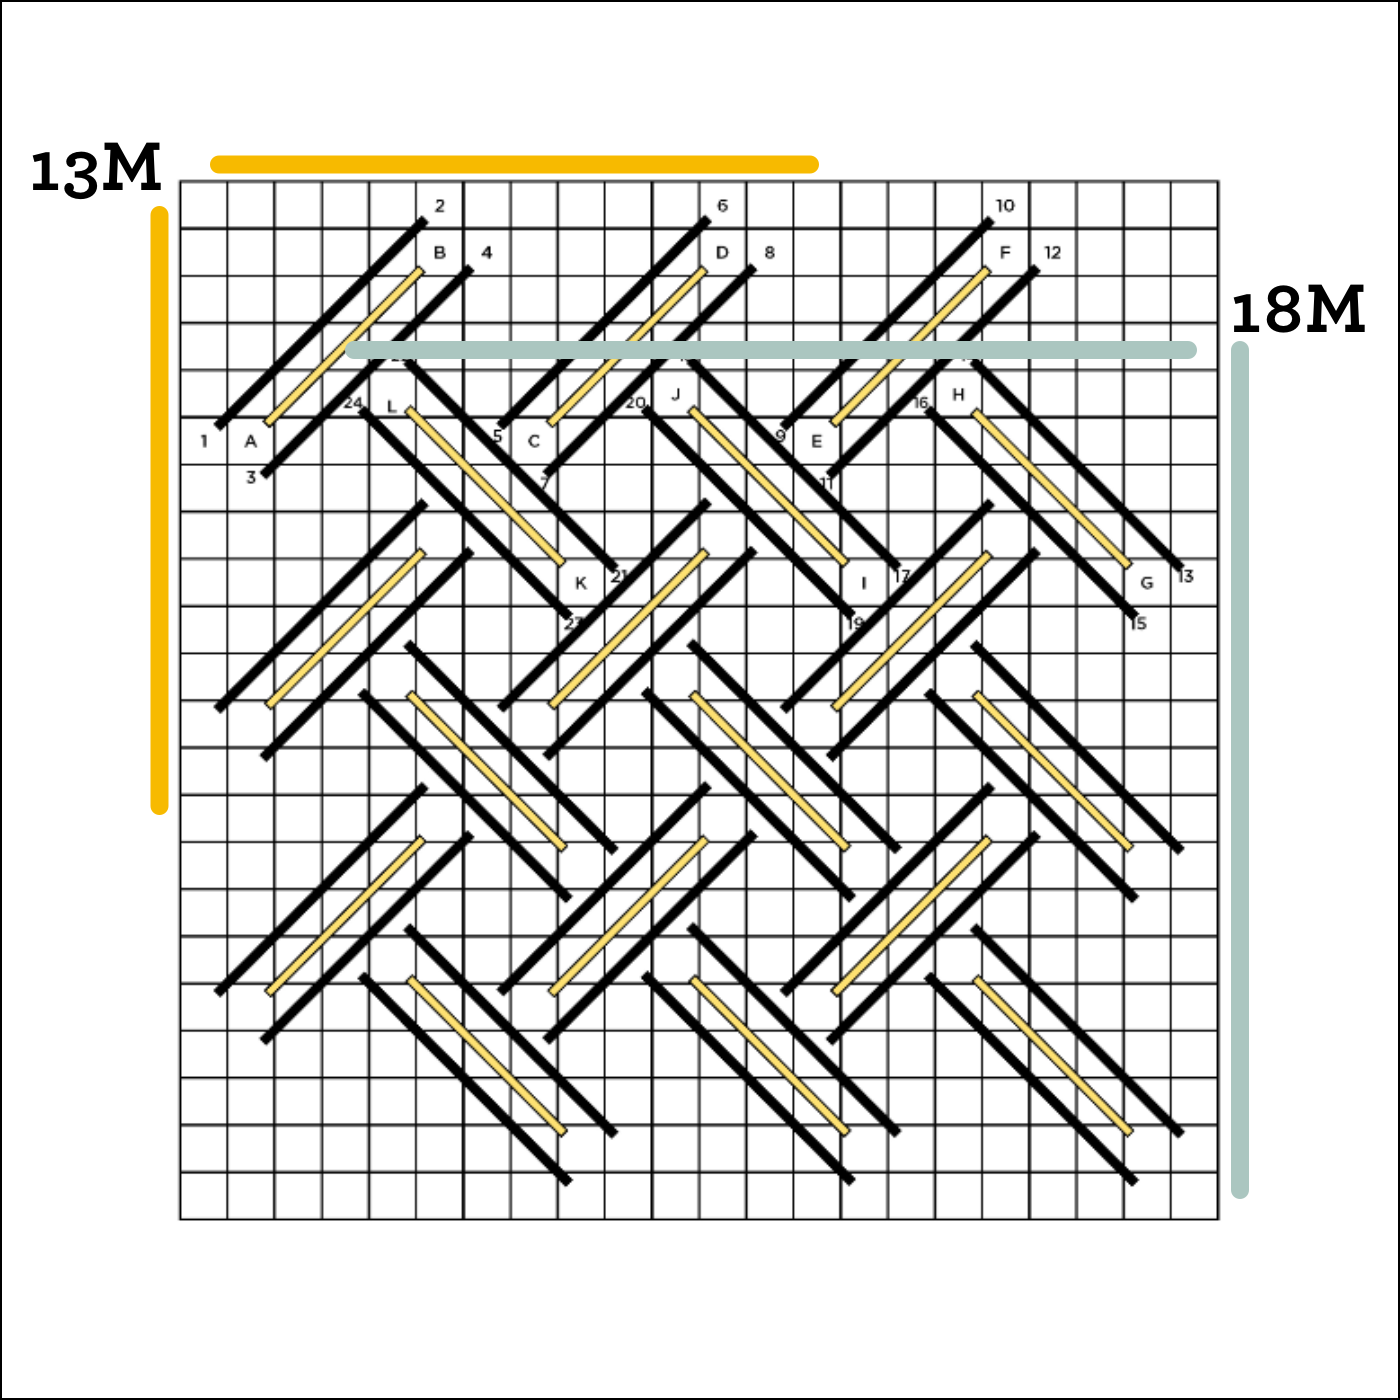
The diagram is on the right is from the video and illustrates how to determine how a stitch will fit in a square inch of an area on your canvas. Count the number of canvas threads in an inch of your mesh size in both directions. That represents what a square inch of the stitch will look on your canvas.
July 30, 2026
Free Stitch Inspiration
These are three online resources I contribute content to on a regular basis.

Other Tutorial Videos
There is no audio to this video. It illustrates how to tack down a felt ball and the first steps of rotating around the ball with thread.